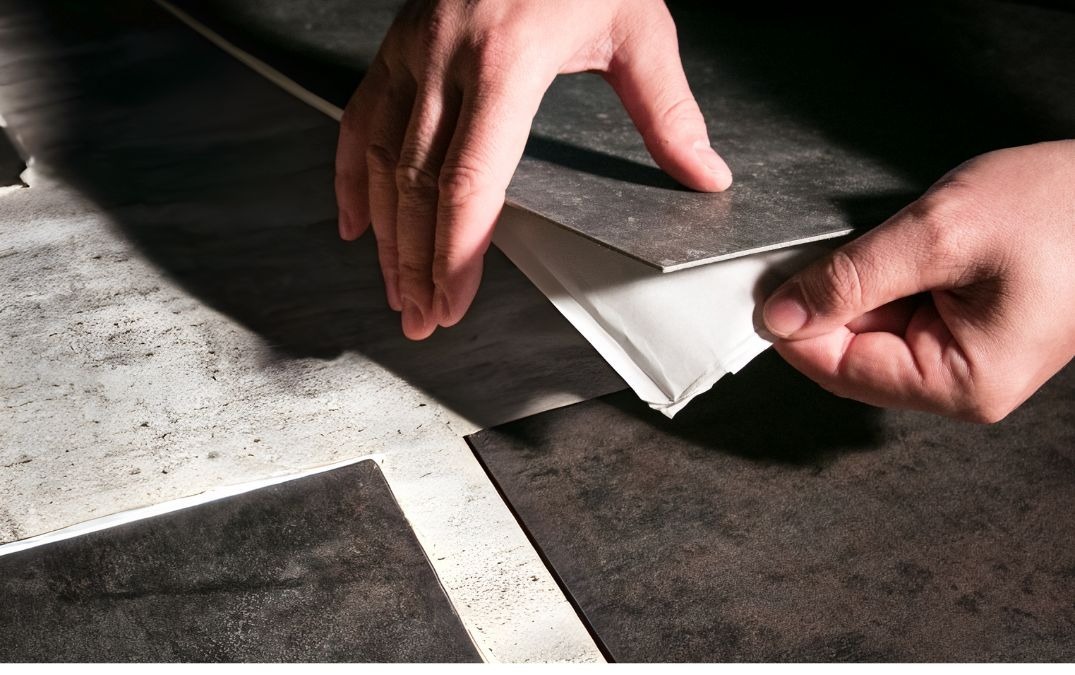
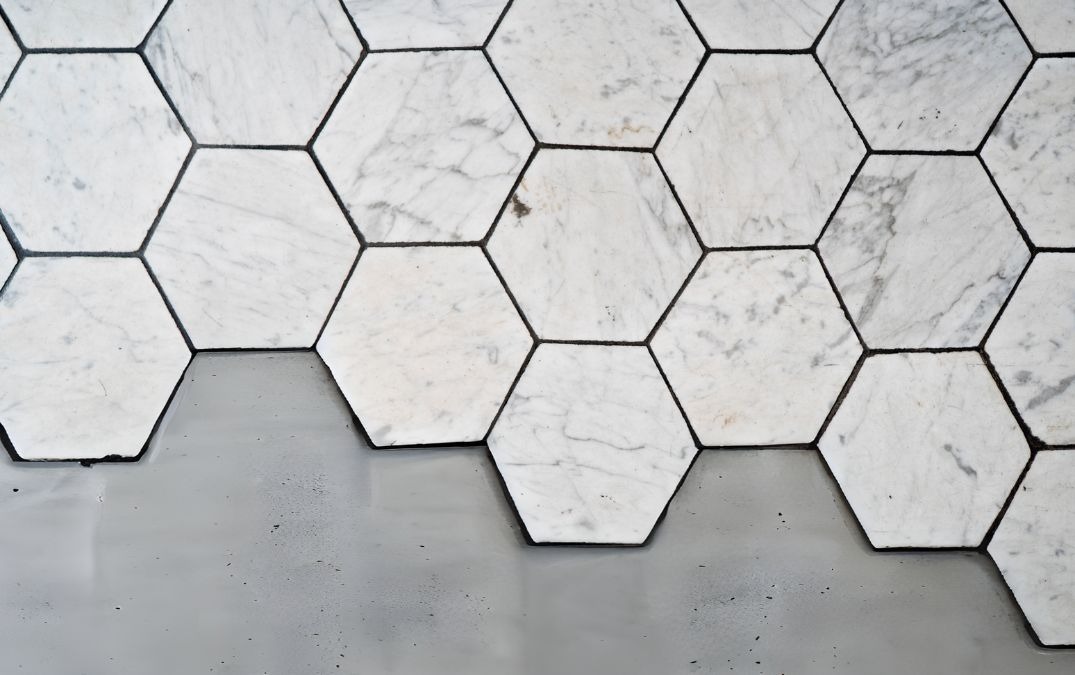
Peel and stick tiles adhere well to clean, dry, and smooth concrete surfaces, making them a practical choice for a quick flooring upgrade. Peel and stick tiles are easy to install, cost effective, and come in various designs, providing a durable solution that can last several years. Concrete offers a stable, solid base, ensuring a good bond and helping the tiles stay in place longer compared to other flooring types.
Start by thoroughly cleaning the concrete to remove any dust, dirt, or grease, as these can affect the adhesive's ability to bond. Ensure the surface is completely dry because any moisture can prevent the tiles from sticking properly. For any cracks or holes in the concrete, use a concrete patching compound to fill them in and sand the surface to create an even base.
While not always necessary, using a primer can significantly enhance the adhesion of peel and stick tiles to a concrete surface. Concrete is often porous and can be rough, which may prevent the tiles from sticking properly. Applying a primer helps to seal the surface, providing a smooth, clean base for the tiles to adhere to. It also fills in any small imperfections and ensures a stronger bond, reducing the likelihood of the tiles lifting or shifting over time.
Generally, waterproofing concrete is not necessary before installing peel and stick tiles unless the area is prone to moisture or water exposure, such as in a basement or bathroom. If moisture is a concern, applying a waterproofing sealant can help prevent water from seeping through the concrete, which could affect the adhesive on the tiles and lead to lifting or damage over time.
Once the concrete is clean, dry, and smooth, you can start installing the tiles. Begin by planning your layout to avoid awkward cuts and ensure a professional finish. Peel off the backing from each tile and press it firmly onto the concrete, starting from one corner and working your way across the floor. Make sure to press down firmly on each tile to ensure a strong bond, paying special attention to the edges.
Using these tiles on concrete is a quick and cost effective way to upgrade your flooring. They offer a variety of design options and are relatively easy to install without professional help. With proper installation, these tiles can provide a durable flooring solution that lasts for several years.
To seal peel and stick tiles, start by thoroughly cleaning the tiles with a mild detergent and water, ensuring they are free from dust, dirt, and debris, and then let them dry completely. Choose an acrylic based sealer, which is ideal for providing a protective layer without yellowing. Using a paint roller or brush, apply the sealer evenly across the surface of the tiles, starting from one corner and working your way out to ensure full coverage. For added protection, apply multiple coats, allowing each coat to dry completely before applying the next. Follow the manufacturer's instructions for drying times, which typically take 24-48 hours.
To add the finishing touches after sealing your peel and stick tiles, ensure the sealer is completely dry and the tiles have a consistent, smooth appearance. Trim any excess tile edges with a utility knife for a clean, precise fit, especially around corners and along walls. If there are any gaps between tiles, use a matching colour caulk to fill them, which helps prevent dirt and moisture from getting underneath. Finally, give the entire floor a once over to check for any missed spots or uneven areas in the sealer application, and touch up as needed.
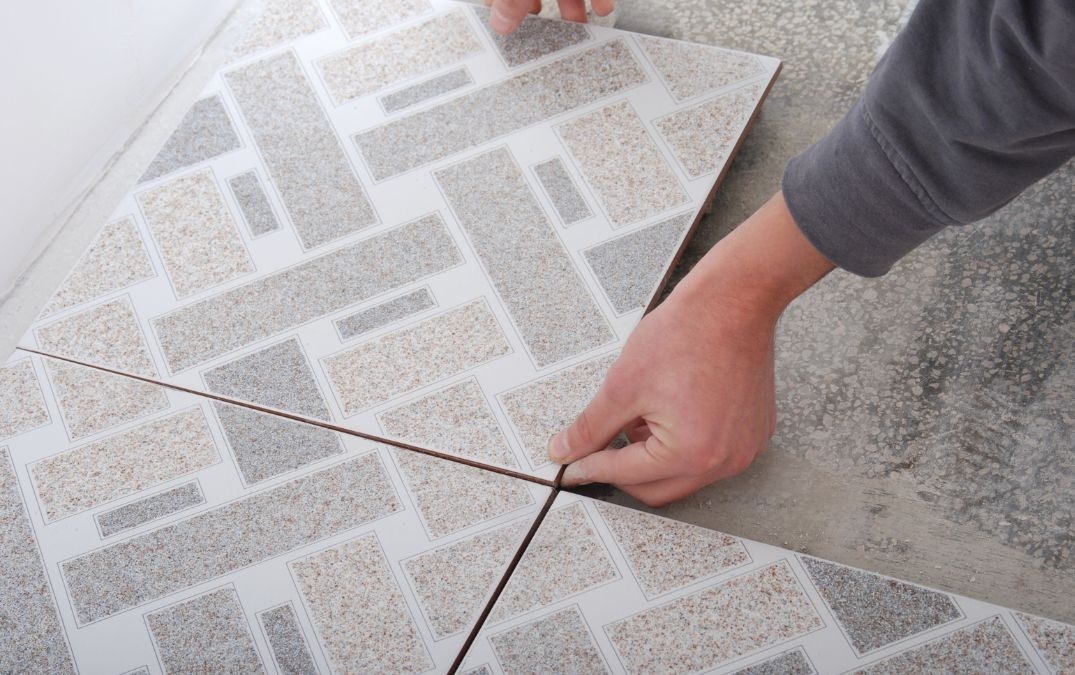
Our team of experts is ready to transform your floors with precision and craftsmanship. Don't settle for ordinary when you can have exceptional. Contact us now for floors in England and Wales by emailing us at info@britishconcretepolishing.co.uk or by filling in the form below and our team will get back to you shortly.