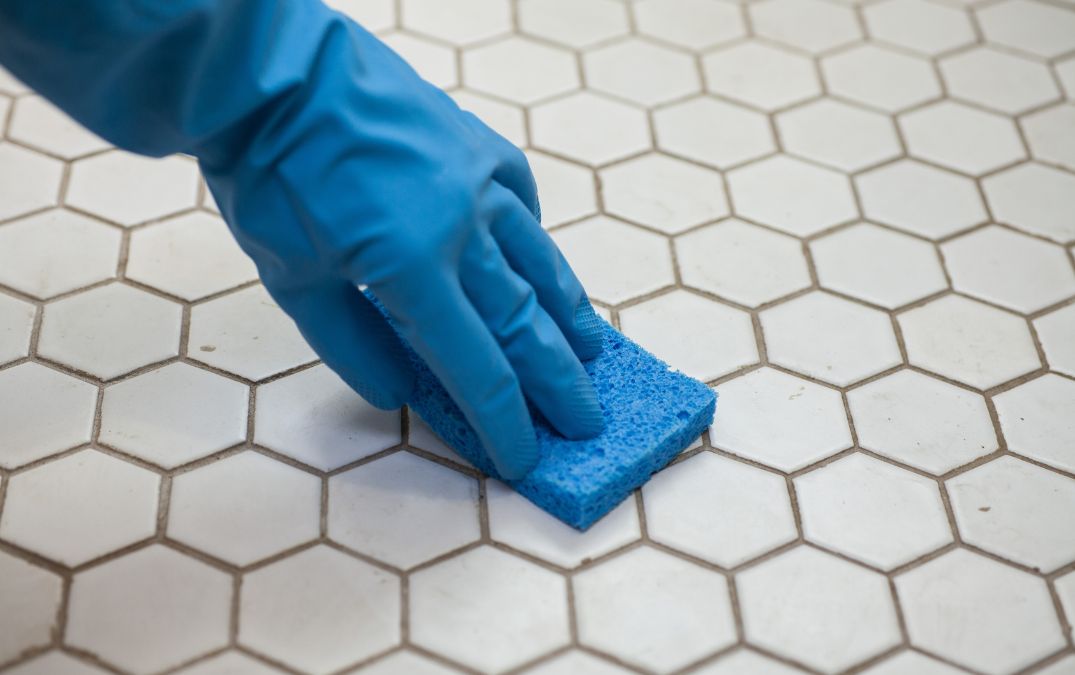
Got dirty grout? Baking soda is your go-to solution. It’s cheap, non-toxic, and works like a charm. Here’s how you tackle that grime.
First, gather your supplies. You’ll need baking soda, water, a stiff brush (an old toothbrush works), and a little elbow grease. Mix the baking soda with water to form a thick paste. You want it to be about the consistency of toothpaste.
Next, apply the paste directly to the grout lines. Make sure you cover all the dirty areas well. Let it sit for about 10 to 15 minutes. This gives the baking soda time to loosen up the dirt and grime.
Now, grab that stiff brush and start scrubbing. Work the paste into the grout lines with firm, circular motions. You’ll see the dirt lifting away as you go. For stubborn spots, add a bit more paste and keep scrubbing.
After scrubbing, wipe away the excess baking soda with a damp cloth or sponge. Rinse the area with clean water to remove any residue. For an extra sparkle, dry the tiles with a clean towel.
There you have it, clean, fresh grout with minimal effort and no harsh chemicals. Baking soda is a simple, effective way to keep your tile floors looking their best.
Vinegar is a fantastic natural cleaner and works wonders on grout. If your grout lines are looking dingy, here’s how to freshen them up with vinegar.
You're going to want to gather your materials. You’ll need white vinegar, water, a spray bottle, a stiff brush of course, and a clean cloth or sponge.
Start by mixing equal parts white vinegar and water in the spray bottle. Shake it up to make sure it’s well mixed. Spray the vinegar solution directly onto the grout lines. Make sure you cover all the dirty areas thoroughly. Let it sit for about 5 to 10 minutes. The vinegar will break down the dirt and grime, making it easier to scrub away.
Take your stiff brush after you've waited enough time, and start scrubbing. Use firm, circular motions to work the vinegar solution into the grout. You’ll notice the grime lifting away. For really stubborn spots, you might need to reapply the vinegar solution and scrub again. Once you’ve scrubbed all the grout lines, wipe away the excess solution with a damp cloth or sponge. Rinse the area with clean water to remove any vinegar residue. If you want an extra shine, dry the tiles with a clean towel.
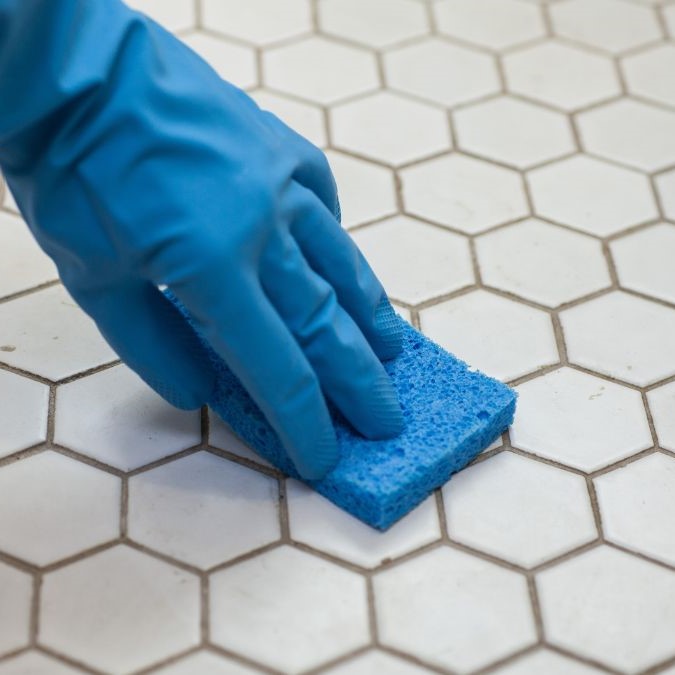
If your grout is looking especially grimy and other methods haven’t worked, bleach might be your best bet. It’s strong and effective, but you need to handle it carefully. First things first, gather your supplies. You’ll need bleach, water, a spray bottle, a stiff brush, rubber gloves, and a well ventilated area to work in. Safety is key here, so make sure you’ve got those gloves on and plenty of fresh air.
Mix your solution by combining one part bleach with three parts water in the spray bottle. Shake it up to mix thoroughly. Spray the bleach solution directly onto the grout lines. Be generous but careful, you don’t want to bleach the color out of your tiles if they’re not white. Let the solution sit for about 10 to 15 minutes. This will give the bleach time to kill any mold, mildew, and loosen up the grime.
Now, grab your stiff brush and start scrubbing the grout lines. Use firm, circular motions to really work the bleach into the grout. You’ll see the dirt lifting away, and the grout will start to look cleaner and brighter.
After scrubbing, wipe away the excess bleach solution with a damp cloth or sponge. Rinse the area thoroughly with clean water to remove any remaining bleach. This step is crucial to avoid any residue that might harm your tiles or affect their colour. Dry the tiles with a clean towel, and you’re done.
Our team of experts is ready to transform your room with precision and craftsmanship. Don't settle for ordinary when you can have exceptional. Contact us now for concrete flooring in the UK by emailing us at info@britishconcretepolishing.co.uk or by filling in the form below and our team will get back to you shortly.