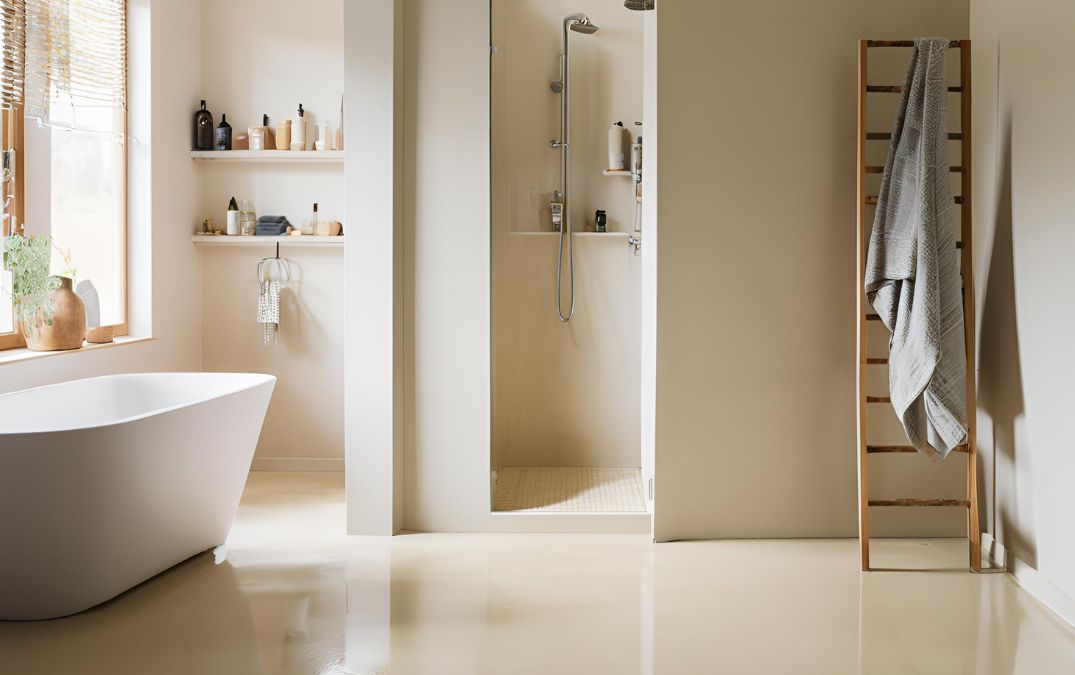
Start by marking the location where your shower drain will go. This usually means the center of your shower space, but double check your shower pan specifications to be sure. Use a marker to outline the area on the concrete floor.
Next, it’s time to break through the concrete. You’ll need a hammer drill with a masonry bit to create a pilot hole. Then, switch to a chisel and hammer or a jackhammer to break up the concrete around the marked area. Be careful as you work to avoid damaging any existing plumbing or the structural integrity of the floor.
Once you’ve cleared away the concrete, you’ll need to dig out the dirt to create space for the drain assembly and pipe. Make sure you dig deep enough to accommodate the trap and any necessary piping that will connect to your home’s drainage system. You must check the slope of the drainage pipes to ensure proper water flow; they should have a slight downward angle to prevent any water from backing up.
Now, place the drain assembly into the hole. Fit the trap and pipes together, ensuring they are secure and leak proof. Use PVC primer and cement to bond the joints if you’re working with PVC pipes. Make sure the top of the drain assembly is level with the surrounding concrete surface or slightly below, to accommodate the thickness of the shower pan and tiles.
With the drain assembly in place, you need to backfill the hole. Use gravel or a concrete mix to fill the space around the pipes, providing stability and support. If you’re using concrete, mix it according to the manufacturer’s instructions and pour it carefully around the drain assembly, making sure not to dislodge the pipes. Smooth the surface and let it cure as per the recommended time.
Next, install the shower pan. Apply a layer of thin set mortar to the concrete floor where the pan will sit. Set the shower pan in place, pressing it firmly into the mortar to ensure a good bond. Check that the pan is level in all directions. Attach the pan to the drain assembly according to the manufacturer’s instructions. This often involves tightening a compression fitting to seal the pan to the drain.
After securing the shower pan, it’s time to waterproof. Apply a waterproofing membrane to the shower pan and the surrounding area. This step is a must to prevent water from seeping into the concrete and causing damage. Follow the membrane manufacturer’s instructions for proper application.
Finally, test your installation. Run water through the drain to check for leaks and ensure proper drainage. Address any leaks or drainage issues before moving on to tiling or finishing your shower space.
You can start off by applying a waterproof membrane to the entire surface of the shower pan. This membrane acts as a barrier, preventing water from penetrating the concrete. Use a paintbrush or roller to apply the membrane, making sure to cover all corners, edges, and seams thoroughly. Pay special attention to the joints where the pan meets the walls and the drain, as these are common areas for leaks to develop. Apply the membrane generously and evenly, following the manufacturer’s instructions for drying times between coats.
Once the waterproof membrane has been applied and allowed to dry, the next step is to seal the drain connection. This is typically done using a rubber gasket or silicone sealant, depending on the type of drain assembly you have. Place the gasket or apply the sealant around the base of the drain where it meets the pan, ensuring a tight, watertight seal. After sealing the drain, test for leaks by running water into the pan and checking for any signs of water escaping. Fix any issues immediately before proceeding with the final steps of your shower installation.
One of the most common mistakes when installing a shower drain on concrete is neglecting to properly measure and plan the layout. Accurate measurements are paramount for making sure that the drain is placed correctly and aligns with the plumbing. Failing to measure correctly can lead to alignment issues, which can cause improper drainage and potential leaks. Take the time to double and triple check your measurements.
Another frequent mistake is not addressing the moisture content of the concrete slab. Concrete naturally retains moisture, and if it’s not adequately dried before installation, it can lead to mold and mildew issues under the shower pan. Use a moisture meter to test the concrete and, if necessary, employ dehumidifiers or fans to dry the area thoroughly.
Improper sealing and waterproofing are also major pitfalls. Failing to adequately seal the shower pan and drain can allow water to seep into the concrete, causing damage and potential structural issues. Use waterproofing materials and follow the manufacturer’s instructions carefully. Applying the waterproof membrane incorrectly or missing areas can compromise the entire installation.
Not testing the drainage system before completing the installation can be a critical mistake. Once the drain and shower pan are in place, conduct a water test to ensure everything is functioning correctly and there are no leaks. Skipping this step can mean missing early signs of issues, which can become more significant problems later.
Our team of experts is ready to transform your room with precision and craftsmanship. Don't settle for ordinary when you can have exceptional. Contact us now for concrete flooring in the UK by emailing us at info@britishconcretepolishing.co.uk or by filling in the form below and our team will get back to you shortly.