How to Lay Floor Tiles on Concrete

Contact

Preparing the concrete for tiles

Sweep away any dust and dirt, and don’t forget about the grease. A good degreaser will help get rid of any oily spots. The cleaner the surface, the better your tiles will stick. Next, check for any cracks or damage. You want a smooth, even surface before you start tiling. Use a concrete patching compound to fill in any gaps or holes. Smooth it out with a trowel and let it dry completely.

Moisture can interfere with the adhesive so, causing tiles to lift or not stick properly. If the concrete is recently cleaned or patched, give it ample time to dry out.

A man laying tiling down on concrete flooring.

Measure your space and calculate the total area to determine how many tiles you’ll need. Don’t forget to factor in extra tiles for cuts and mistakes. You're then going to want to dry lay your tiles. What this means is placing them on the floor without adhesive to plan your layout and design. It helps you see how the tiles fit together and if any adjustments are needed. You’ll get a preview of the final look and can make any necessary tweaks before committing.

After achieving this, mark your guidelines. Use chalk lines to make sure your rows are straight and even. Snap a chalk line along the center of the room to use as your starting point. This will keep your tiles aligned and looking professional.

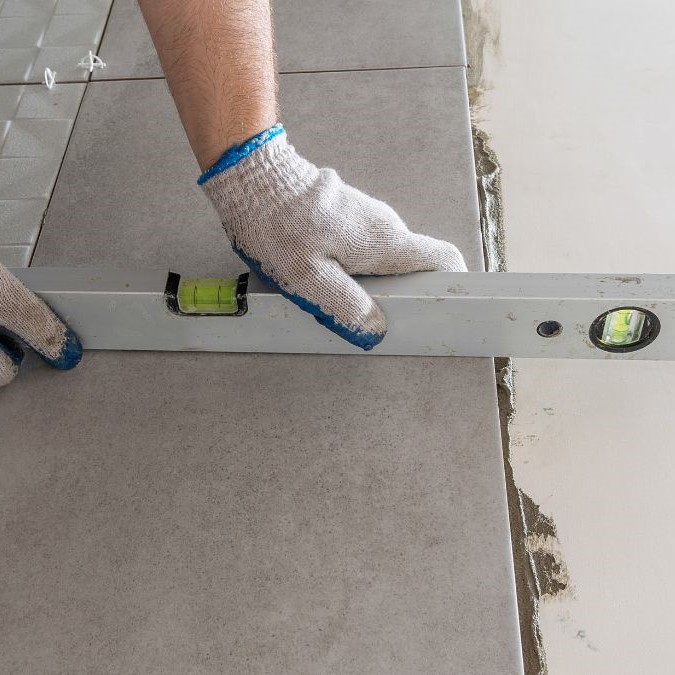
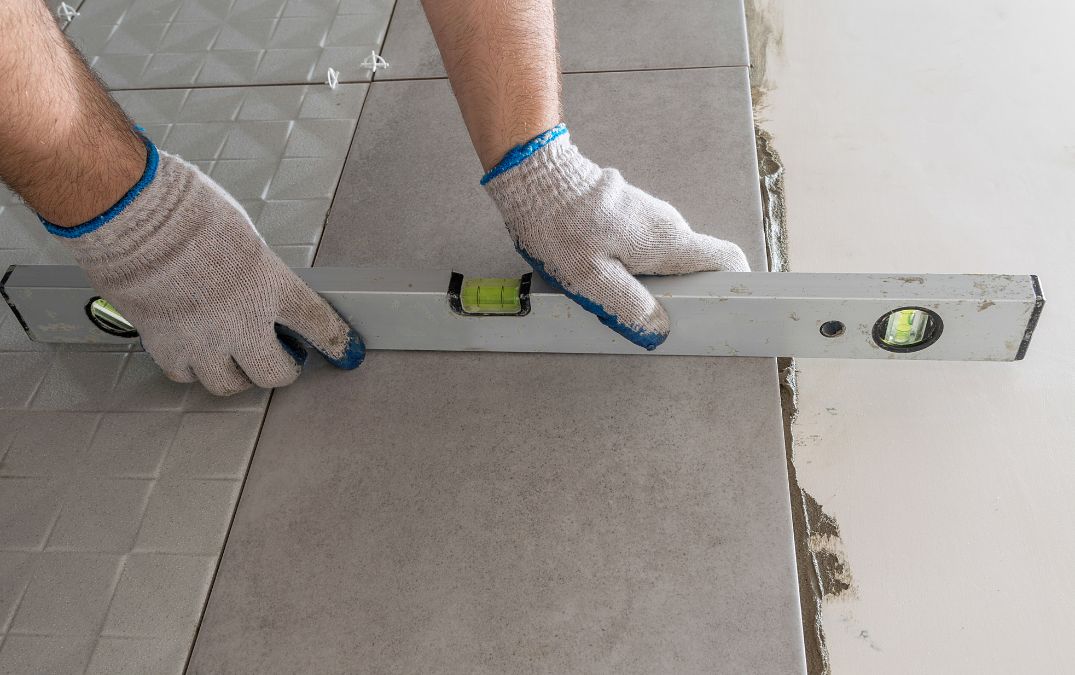
A spirit level being used to level flooring tiles on concrete.

What tools and adhesives do I need to lay floor tiles on concrete?

Before you get to work, gather all the tools you’ll need. This includes trowels for spreading adhesive, spacers to ensure even gaps between tiles, and a tile cutter for those precise cuts. You’ll also want a mixing bucket, a notched trowel, and a spirit level to keep everything aligned. For the adhesive, make sure it’s suitable for both your tile type and the concrete surface.

Applying the floor tile adhesive to the concrete

Start by mixing the adhesive according to the manufacturer’s instruction. Make sure you follow the ratios and mixing times specified on the packaging to avoid any issues later on. Use a notched trowel to spread the adhesive evenly across the concrete surface. The notches help create uniform ridges, ensuring that the tiles stick properly and sit level. Work in manageable sections to keep the adhesive from drying out before you can lay the tiles.

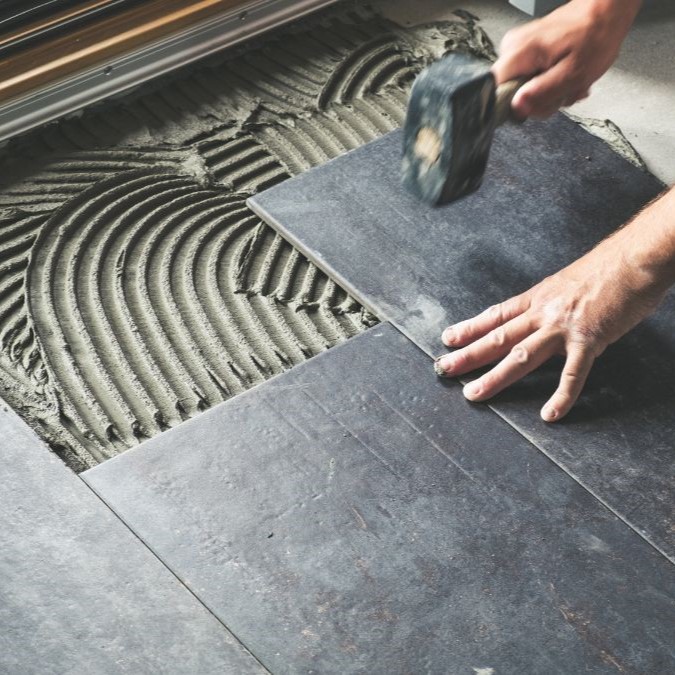
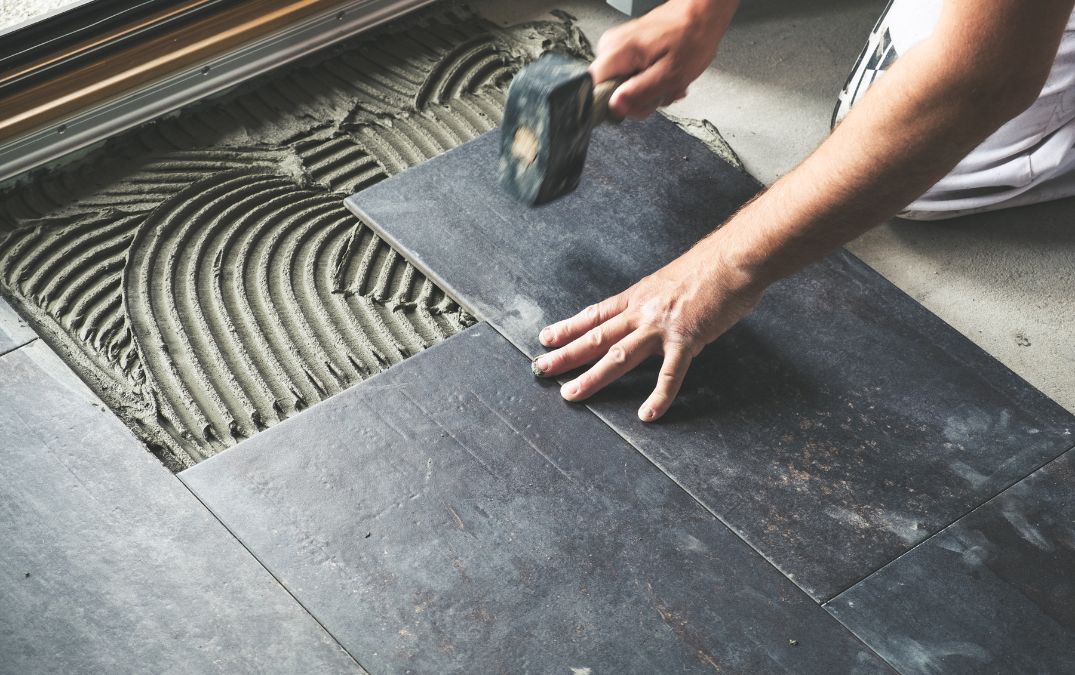
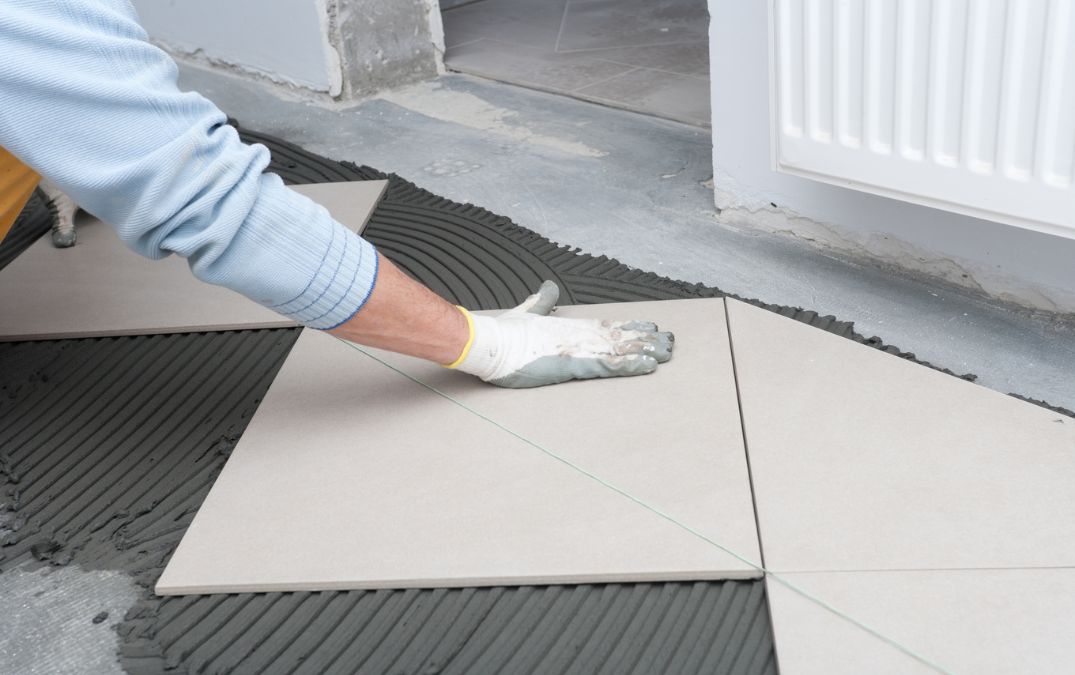
Tile flooring being tapped down into its adhesive.

Begin by placing the first tile in the center of the room or the most visible area. This creates a focal point and helps ensure your layout looks balanced and professional. Starting from a central point makes it easier to work outward and maintain symmetry. As you lay each tile, use spacers to ensure even spacing between them. This is for maintaining consistent grout lines and achieving a polished look. Spacers also help prevent tiles from shifting as the adhesive sets.

When you reach the edges and corners, measure the spaces accurately and cut the tiles to fit. A tile cutter will help you achieve clean, precise cuts. Properly fitting the tiles around obstacles and edges ensures that seamless finish.

Mix the grout to the right consistency, making sure it matches your chosen colour. Use a rubber float to apply the grout, pressing it into the gaps between tiles. Work diagonally across the tiles to ensure all gaps are filled evenly and thoroughly. Once the grout is applied, wipe away the excess with a damp sponge. Be gentle to avoid removing grout from the joints, and keep rinsing the sponge to prevent smearing.

Select a sealer that protects both the tiles and grout from moisture and stains, then apply the sealer evenly across the tiles and grout. Follow the manufacturer’s instructions for drying times and the number of coats. Proper sealing will increase the lifespan of your flooring.
Our team of experts is ready to transform your floors with precision and craftsmanship. Don't settle for ordinary when you can have exceptional. Contact us regarding concrete flooring by emailing us at info@britishconcretepolishing.co.uk or by filling in the form below and our team will get back to you shortly.