Give it a good sweep, and then go over it with a vacuum to make sure you’ve got every last speck. If you’ve got any stubborn stains or grease spots, tackle them with a degreaser and a scrub brush. The goal here is a spotless surface that ensures the vinyl adheres properly.
If you have any cracks or holes in the concrete, use a concrete patching compound to fill in the gaps. Smooth it out with a trowel and let it dry completely.
Grab a long spirit level and check the entire area. If you find any low spots or uneven areas, use a self-leveling compound. Mix it up according to the instructions, pour it over the problem areas, and let it find its level, you'd be surprised.
Concrete can absorb and hold moisture from the ground or the air. When you lay vinyl flooring directly on concrete without a moisture barrier, you’re setting yourself up for potential problems. Moisture can seep up from the concrete, causing the vinyl to warp, bubble, or even develop mold. Not only does this ruin the look of your floor, but it can also lead to health issues and costly repairs.
A moisture barrier acts as a protective shield, preventing any moisture from reaching the vinyl. Think of it as a raincoat for your floor, it keeps everything underneath nice and dry. When laying vinyl, you can either go for a separate moisture barrier or choose an underlay that has a built-in one. Both options work, but they need to be done right.
Using a separate moisture barrier involves laying down a sheet of polyethylene or similar material directly on the concrete. This sheet is usually thin but highly effective at blocking moisture. You’ll need to overlap the edges and tape them securely to ensure no gaps. This step creates a continuous barrier that stops any moisture dead in its tracks.
Alternatively, as mentioned you can use an underlay with a built-in moisture barrier. This option simplifies the installation process by combining two steps into one. These underlays are designed to provide cushioning and insulation while also protecting against moisture. They are typically made of foam or felt with a moisture resistant layer on one side. Skipping the moisture barrier is a gamble you don’t want to take.
With your moisture barrier and underlay securely in place, you’re ready to roll out the vinyl. This is where things start coming together, and your floor begins to take shape. Ensure your vinyl has acclimated to the room temperature for at least 24 hours. This helps prevent any expansion or contraction after it’s been laid. Unroll the vinyl in the room where it will be installed, letting it lay flat and relax. This makes it easier to work with and helps eliminate any initial curling.
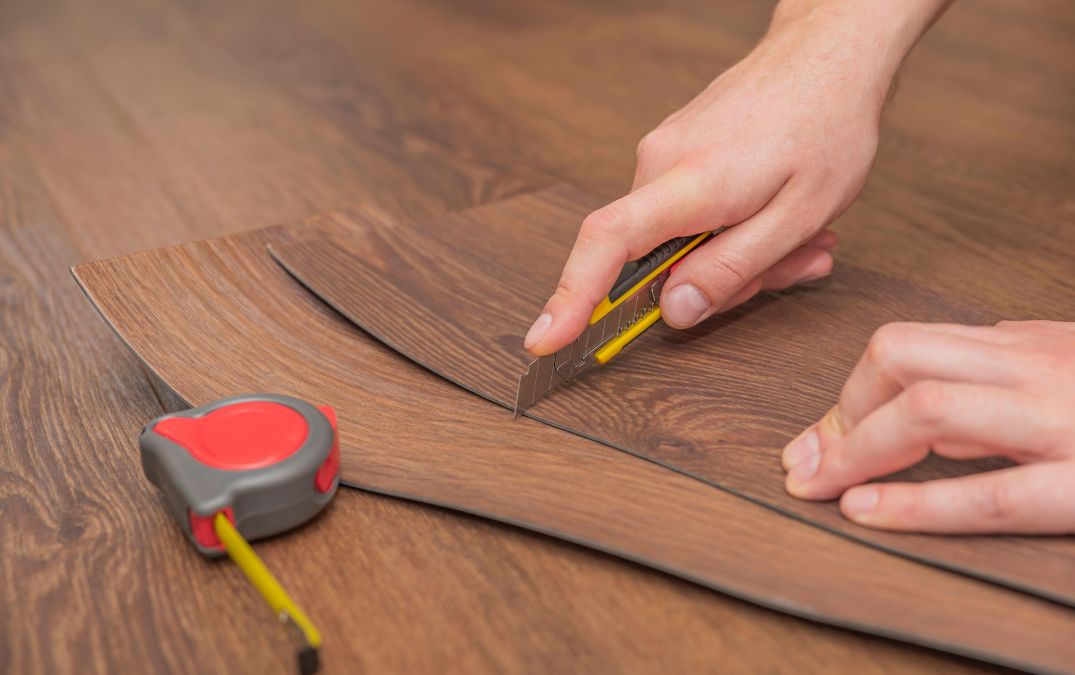
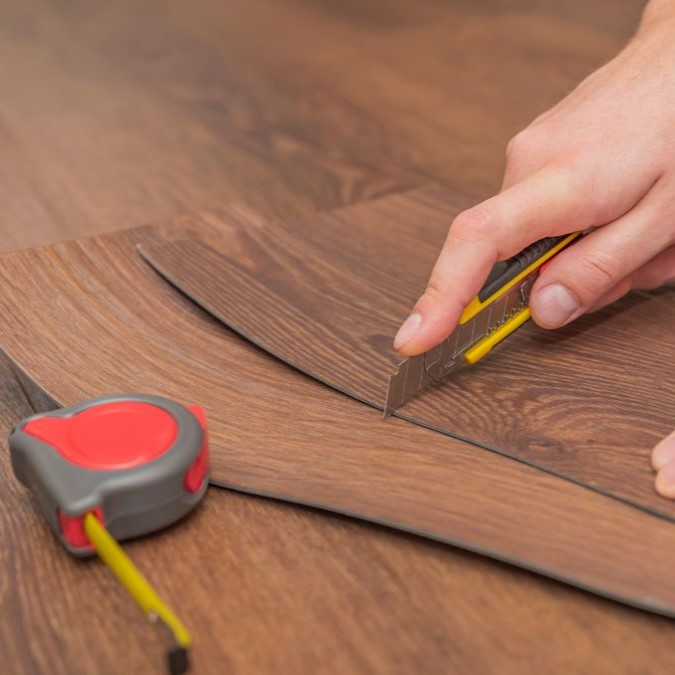
Next, measure your room carefully and cut the vinyl to size. You have to leave a little extra around the edges, about 2 to 3 inches, which you can trim off once it’s in place. This extra margin ensures you can fit the vinyl perfectly against walls and any other obstacles. Use a utility knife with a sharp blade for precise cuts. A straight edge or a metal ruler can help guide your cuts and ensure they’re straight.
Now start positioning the vinyl. Begin at one end of the room and work your way towards the other, ensuring the vinyl lies flat and there are no bubbles or wrinkles. If your vinyl has a pattern, align it carefully so it looks uniform and professional across the entire floor.
For smaller rooms or spaces with a lot of corners and edges, consider dry-fitting the vinyl first. Lay it out without adhesive to check the fit. Make any necessary adjustments before committing to the adhesive.
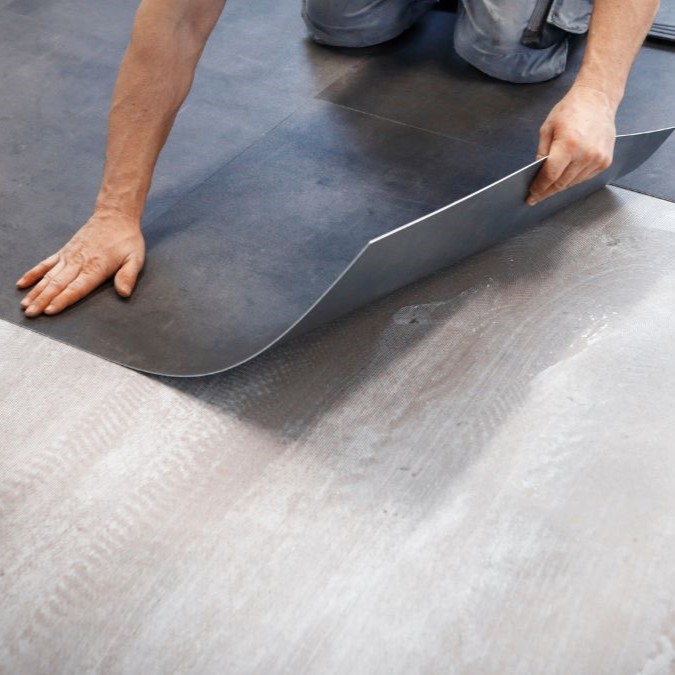
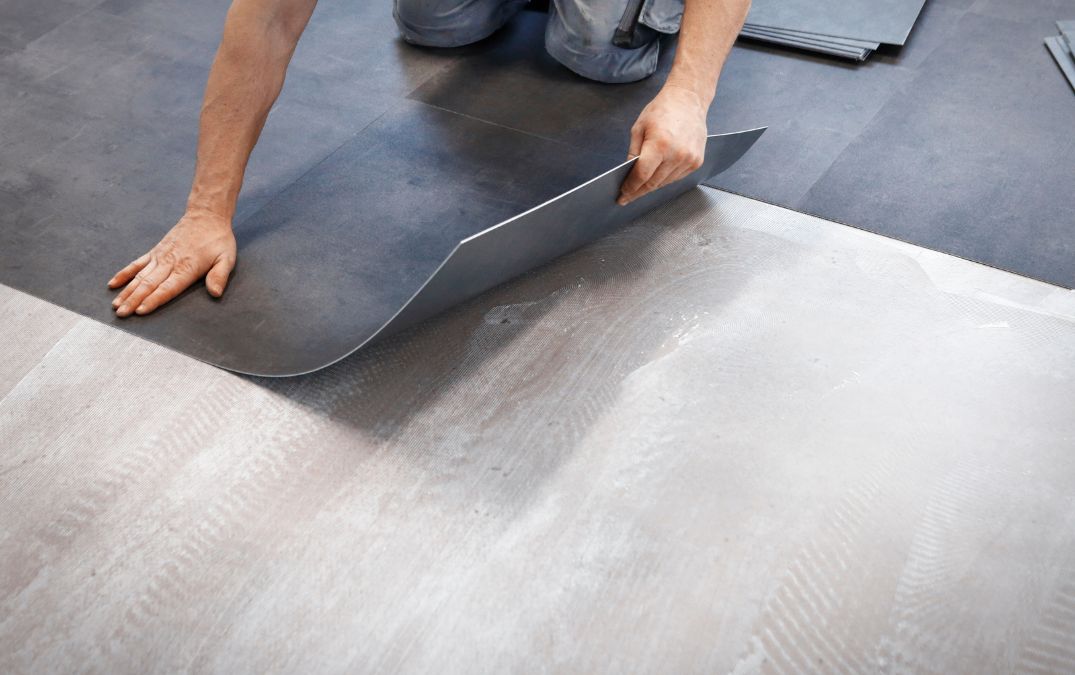
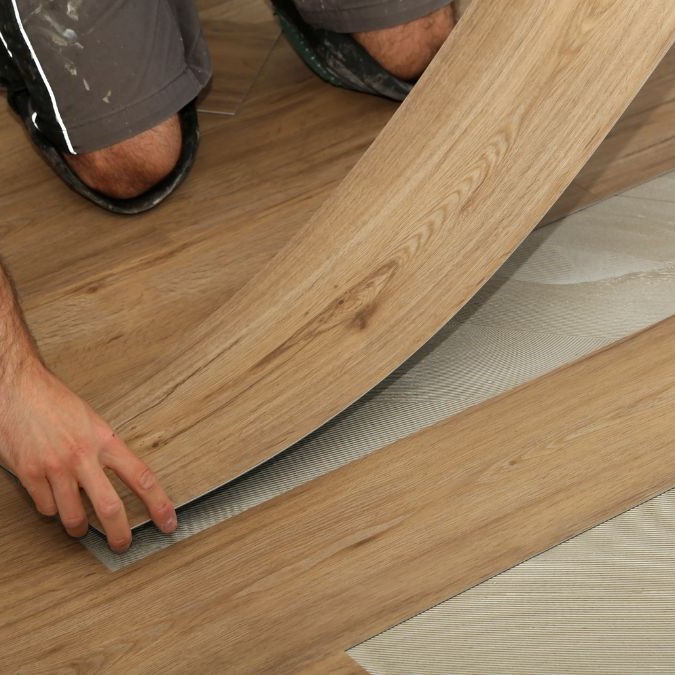
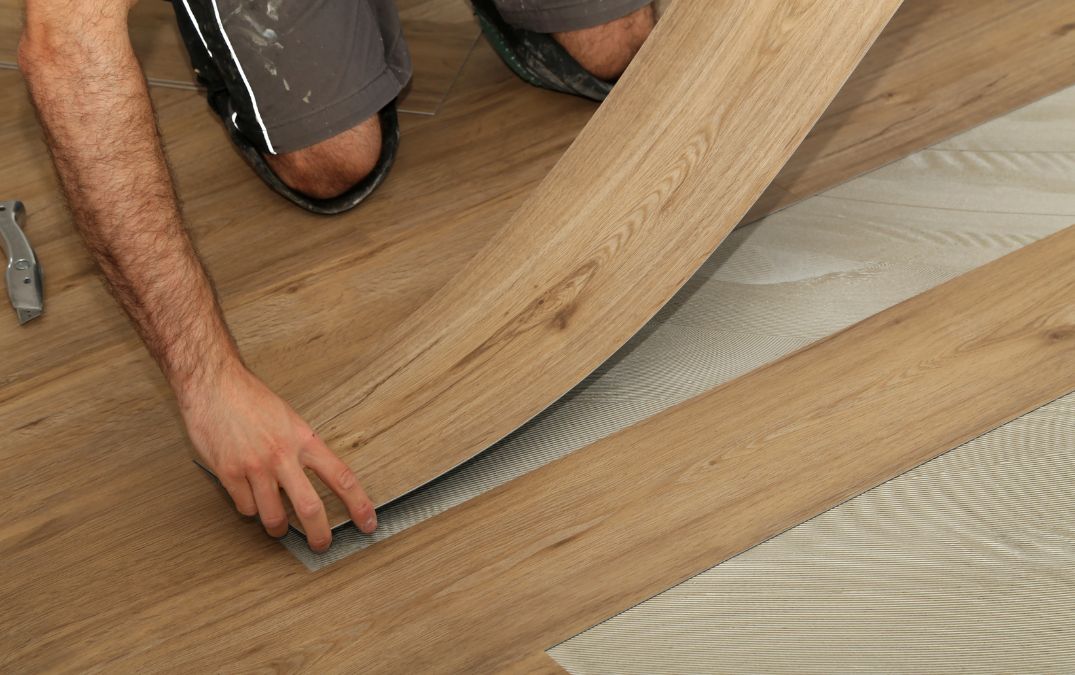
When you’re ready to secure the vinyl, use an adhesive suitable for your vinyl type and underlay. There are several types of adhesives, including pressure sensitive and full spread adhesives. Follow the manufacturer’s instructions for application. Typically, you’ll spread the adhesive with a trowel, working in small sections to prevent it from drying out before the vinyl is laid.
Start laying the vinyl from the center of the room or along one wall, depending on the room’s layout and the size of your vinyl sheet. Press it firmly into the adhesive, smoothing it out as you go to avoid any air bubbles. Use a floor roller or a heavy rolling pin to ensure the vinyl is firmly pressed into the adhesive, creating a strong bond.
Once the main section of the vinyl is laid, trim the excess along the edges. Use a utility knife to carefully cut along the wall, ensuring a snug fit. For seams where two pieces of vinyl meet, use a seam sealer to create a smooth, continuous surface.
After laying the vinyl and securing all seams, give the adhesive time to cure. Avoid walking on the floor or moving heavy furniture over it for at least 24 hours.
Our team of experts is ready to transform your room with precision and craftsmanship. Don't settle for ordinary when you can have exceptional. Contact us now for concrete flooring in the UK by emailing us at info@britishconcretepolishing.co.uk or by filling in the form below and our team will get back to you shortly.