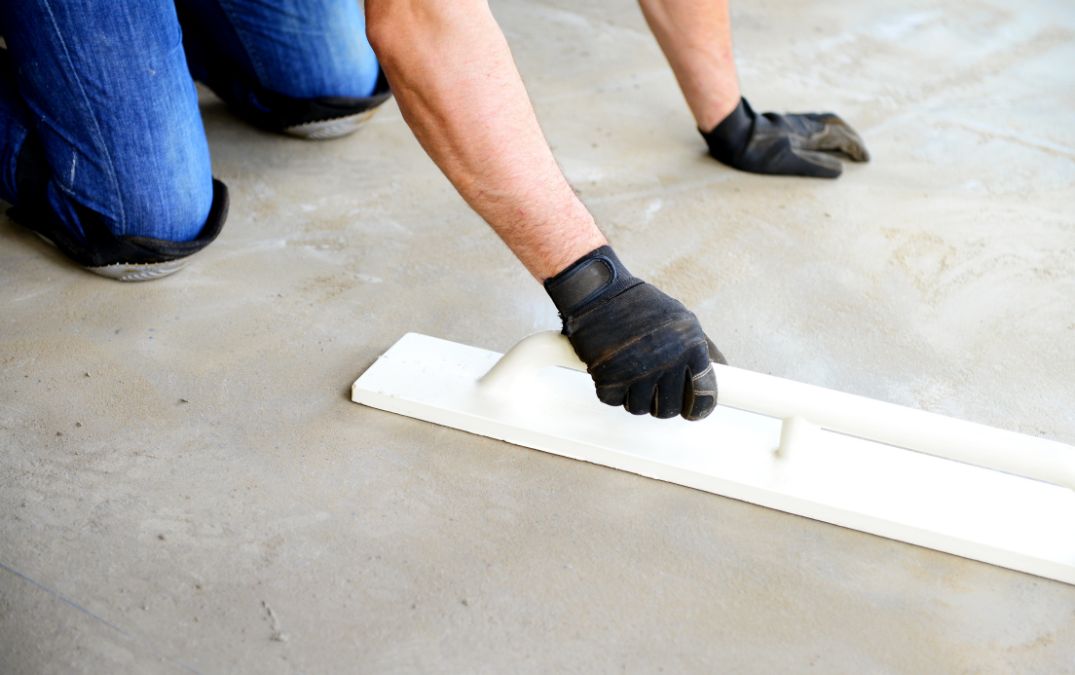
You've got an uneven concrete floor, and it's driving you mad. Maybe you’re tripping over it, or you’re just sick of looking at it. Either way, let’s sort it out. Leveling a concrete floor might sound like a big job, but with the right approach, you can get it done without too much hassle.
First things first, clear the area. You need a clean workspace, so move any furniture and obstacles out of the way. Sweep up all the dirt and debris, then give the floor a good vacuum. You want a nice, clean surface to work with. Once that's done, grab a bucket and a mop and give the floor a thorough clean. Make sure it's completely dry before moving on.
Inspect your floor closely. Look for any cracks, holes, or damage. If you find any, you’ll need to fix these before you start leveling. Use a concrete patching compound to fill in any gaps. You're then going to want to measure the levelness of your floor. Use a long straight edge and a level to find the high and low spots. This will help you understand how much leveling compound you’ll need and where to focus your efforts. Mark these areas with chalk so you can see where you need to work.
When you are choosing the right leveling compound, you’ve got options. Self leveling compounds are great because they spread out evenly on their own, making the job a lot easier. Make sure you choose a product that’s suitable for your specific needs. Read the instructions on the bag. Pour the compound into a bucket and mix it thoroughly, usually with a drill and mixing paddle, until it’s smooth and lump free.
Pour the leveling compound onto the floor, starting at the lowest point. Use a trowel to spread it out, working it into all the nooks and crannies. You’ll want to move quickly, as the compound starts to set fast. If you’ve got a large area to cover, you might need a helper to mix while you spread. Aim for a smooth, even layer across the entire floor. If you’re using a self-leveling compound, gravity will do most of the work for you, but you still need to keep an eye on it and make sure it’s spreading evenly.
Once you’ve got the compound down, let it dry according to the manufacturer’s instructions. This usually takes a few hours, but it’s best to leave it overnight to be sure. After it’s dry, check the levelness again. If it’s still not perfect, you might need to apply a second coat.
A quick tip though; if you’re planning to lay new flooring on top, make sure the surface is as smooth as possible. Any bumps or imperfections will show through, especially if you’re using thin materials like vinyl.
If you're going the DIY route then you're obviously skipping the cost of labour which is a huge saving in itself. For a standard self-leveling compound, you're looking at about £15 to £30 per 20kg bag. In the US, that's roughly $20 to $40 per bag. On average, a 20kg bag covers about 3 to 4 square meters, so you’ll need to calculate how many bags you’ll need based on the size of your floor.
You’ll need some tools if you don't already have them. A mixing paddle for your drill might set you back around £10 to £20 ($13 to $27), and a trowel will cost about £5 to £15 ($7 to $20). If you need to buy a straight edge and a level, that's another £20 to £50 ($27 to $67). So, for a medium sized room, you could be looking at a total DIY cost of anywhere from £100 to £300 ($135 to $400), depending on the materials and tools you need.
Now, if DIY isn't your thing and you prefer to leave it to the professionals, the costs can vary quite a bit depending on where you live and the specifics of your job. On average, in the UK, you might pay between £15 to £30 per square meter for professional floor leveling. In the US, this can be around $20 to $40 per square meter. So, for a 20 square meter room, you’re looking at anywhere from £300 to £600 ($400 to $800) for a professional job.
Leveling a floor that slopes requires a bit more attention to detail, but the basics remain the same with a few tweaks here and there. You’ve got to start by identifying the direction and degree of the slope. Grab your trusty level and a long straight edge. Place the straight edge across the floor and check with the level to see how far off the bubble is. Mark the high and low points on the floor with chalk.
Since we’re dealing with a slope, you’ll need to use a self leveling compound, but you might also need to build up the low areas more significantly. Start by mixing your self leveling compound according to the instructions and get it nice and smooth with no lumps.
Pour the compound into the lowest area first. This is a must because you want the compound to naturally flow and fill in the low spots, gradually bringing them up to level. Use a trowel to help guide it, but let gravity do most of the work. You might need to apply it in stages, depending on how severe the slope is.
For significant slopes, consider using a thicker, more viscous leveling compound that’s designed for deeper fills. In some cases, you might even need to do a pre-leveling pass with a coarser material, like a concrete patching compound.
Once you’ve filled the low areas, move to the higher spots, ensuring the compound spreads evenly. Use a long trowel or a straight edge to help distribute the compound and smooth it out. Keep an eye on it as it starts to set, making sure it’s spreading and leveling out as expected.
Let the compound dry completely, which might take a bit longer if you’re dealing with thicker layers. After it’s dry, check the levelness again. If necessary, apply a second coat to achieve a perfectly flat surface.
An uneven floor can cause problems when installing new flooring, leading to damage, poor aesthetics, and even safety hazards. Leveling the floor ensures the new flooring material adheres properly and lasts longer.
You’ll need a self-leveling compound, a mixing paddle, a trowel, a straight edge, a level, and potentially a heat gun for adhesive removal. For DIY projects, additional items like knee pads, gloves, and a dust mask are recommended.
Drying times vary depending on the product and the thickness of the application. Generally, it takes a few hours to overnight. It’s best to let it dry completely, usually 24 hours, before proceeding with any further steps.
Common mistakes include not properly cleaning and preparing the surface, not using the right type of leveling compound, and not allowing enough drying time. Rushing the process or skipping steps can lead to an uneven finish and future problems.
Our team of experts is ready to transform your floors with precision and craftsmanship. Don't settle for ordinary when you can have exceptional. Contact us now by emailing us at info@britishconcretepolishing.co.uk or by filling in the form below and our team will get back to you shortly.