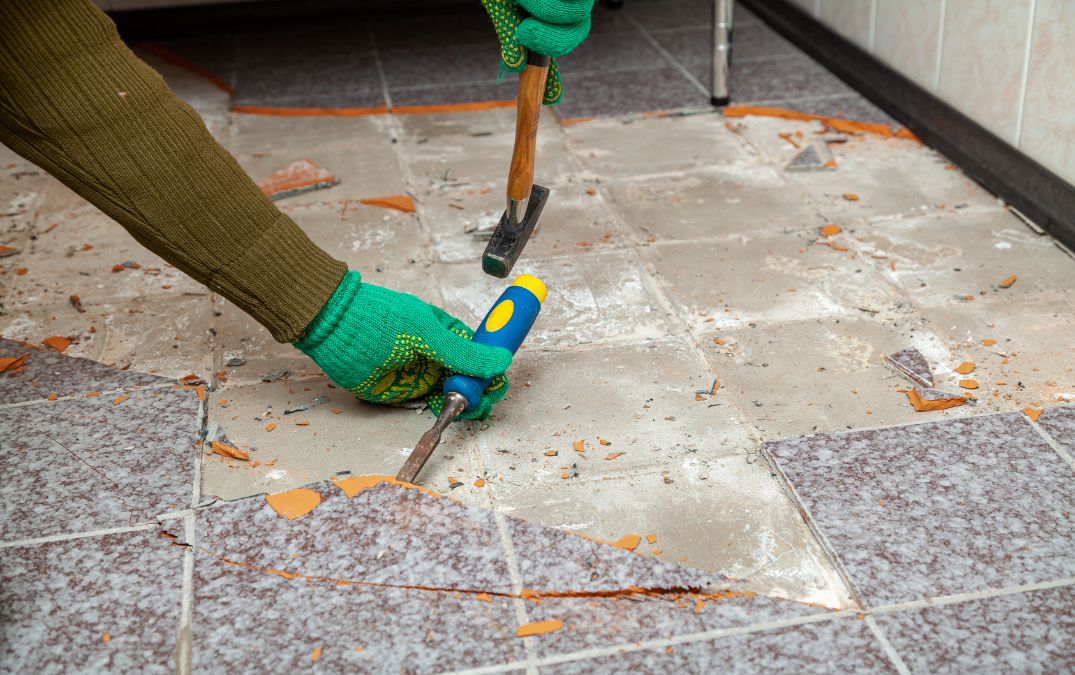
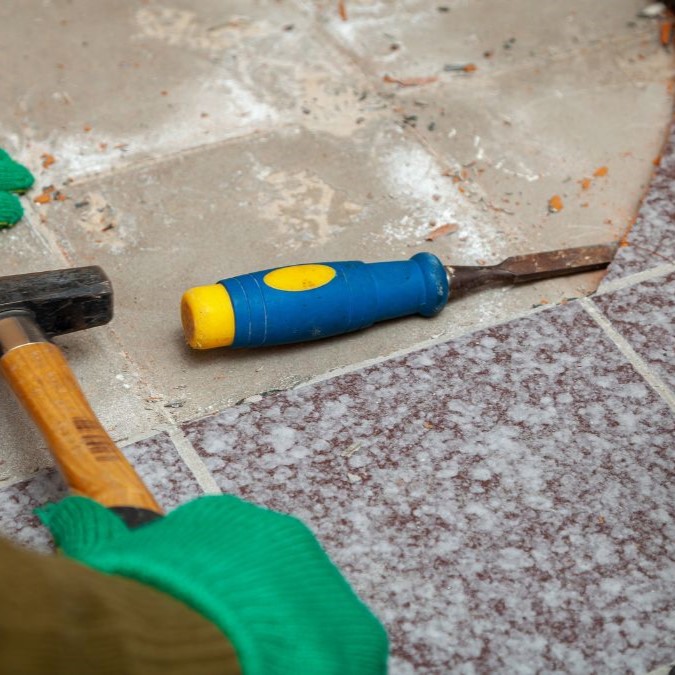
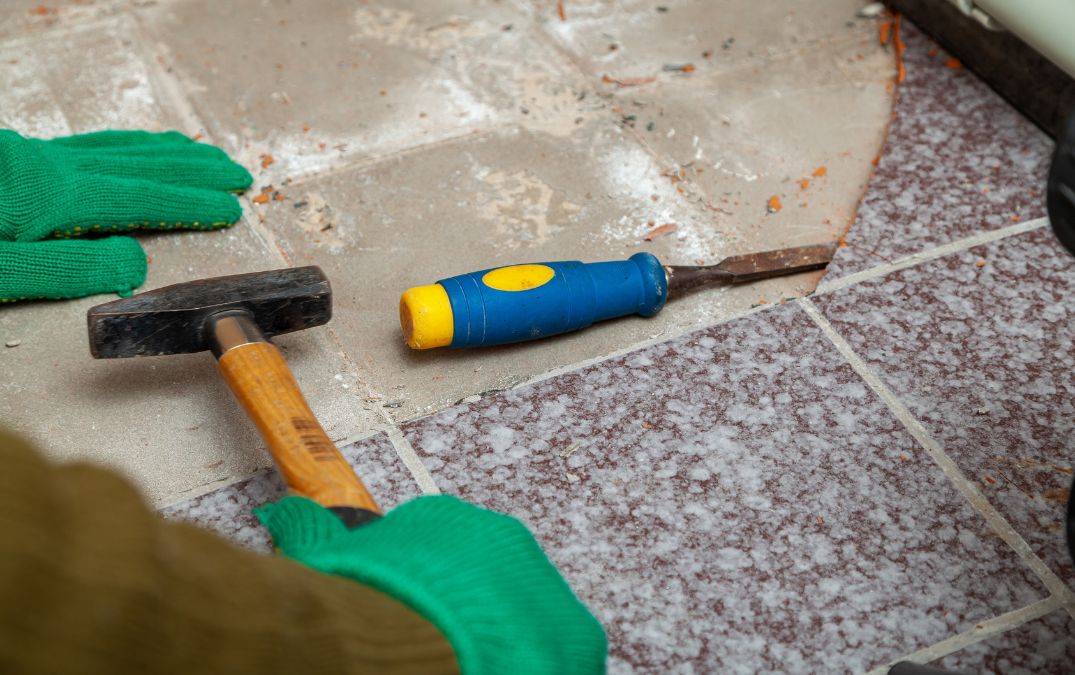
Before you even think about lifting a single tile, grab a pair of sturdy gloves. You’ll be dealing with sharp edges and broken tiles, and the last thing you want is a nasty cut. Next, goggles are a must. Tile shards can fly off in all directions, and your eyes are too precious to risk. Stick on a pair of knee pads too, because you’ll be spending a lot of time on your knees. Trust me, your knees will thank you later. And don’t forget a dust mask. You’ll be kicking up a fair bit of dust, and you don’t want to be breathing in all that muck.
If you’re working indoors, ensuring proper ventilation is crucial. Open up windows and doors to let fresh air circulate.
Remove all furniture and any obstacles from the area you’ll be working in. This gives you room to move around and ensures nothing gets damaged in the process. Next, grab some drop cloths and cover any nearby surfaces and fixtures. This prevents dust and debris from settling where it shouldn’t and keeps your space tidy.
Now, it’s time to get into the nitty gritty. Take a utility knife and carefully score the grout lines around each tile. This helps to break the seal and makes the tiles easier to remove. Make sure you get into all the grooves for the best results.
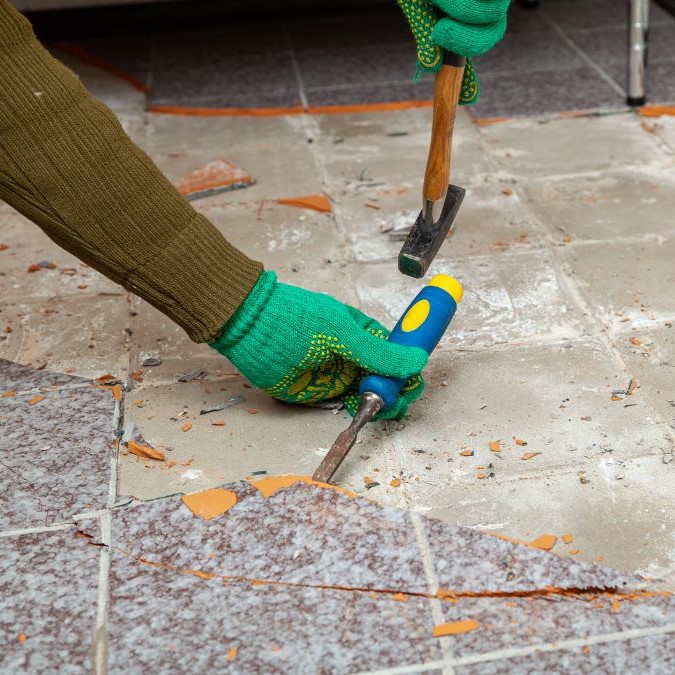
Once you've finishing scoring the grout, you're going to what to start by tapping a chisel under the edge of a tile to loosen it. Be gentle and work carefully to avoid damaging the concrete underneath. It’s a bit like prying a lid off a stubborn jar, a bit of finesse goes a long way. Once the edges are loose, it’s time to lift those tiles. Use a hammer and chisel or a floor scraper to lift and remove the tiles. For those tiles that just don’t want to budge, bring out the big guns; a rotary hammer with a chisel attachment can make short work of the most stubborn tiles.
Sometimes, the old fashioned way is the best way. Grab a putty knife or a floor scraper and start scraping away at the adhesive residue. It’s a bit of a workout, but with some elbow grease, you’ll get there. The key here is to be persistent and methodical, working in small sections to gradually clear the surface.
If manual scraping isn’t cutting it, it’s time to bring in some chemical muscle. Commercial adhesive removers can make this job a whole lot easier. Follow the manufacturer’s instructions to the T; usually, you’ll apply the remover, let it sit for a bit to break down the adhesive, and then scrape it off. It’s like magic, but with chemicals. Just make sure you’re working in a well ventilated area and wearing gloves to protect your skin.
For particularly stubborn spots, a heat gun can be your best friend. Heat softens the adhesive, making it much easier to scrape off. Move the heat gun slowly over the adhesive, keeping it at a safe distance to avoid damaging the concrete. Once the adhesive is softened, go back to your trusty putty knife or scraper and get to work.
Start by sweeping the area thoroughly to get rid of all the loose debris and dust. You might think you've got it all, but a quick vacuum will ensure nothing is left behind, especially in those nooks and crannies. Once you’ve swept and vacuumed, it’s time for a damp mop. Grab a bucket of water and a good mop, and give the entire surface a thorough wipe down. This helps to pick up any fine dust particles and gives you a clear view of the concrete surface. Make sure the floor is completely dry before moving on to the next step.
Carefully check the surface for any cracks, holes, or other damage that might have occurred during tile removal. This is important because you want a smooth, even surface for whatever new flooring you’re planning to install.
If you find any damage, it’s time to break out the concrete patching compound.Generally you’ll mix the compound and then use a trowel to fill in any cracks or holes. Smooth it out as best as you can, making sure it’s level with the surrounding concrete. Allow it to dry completely, usually a few hours to overnight, depending on the product.
Amtico flooring comes with a comprehensive warranty, typically ranging from 20 years to a lifetime, depending on the product line. This warranty covers manufacturing defects and ensures peace of mind for your investment.
Amtico flooring can be purchased from authorised retailers, flooring specialists, and some home improvement stores. It's a good idea to visit a showroom to see samples in person and get professional advice on the best option for your space.
Yes, Amtico flooring is compatible with underfloor heating systems. It efficiently conducts heat, providing a comfortable and warm surface underfoot.
Yes, Amtico flooring is softer and warmer underfoot compared to natural stone or ceramic tiles. It's also quieter, reducing the noise of footsteps, which is a bonus for busy homes and office spaces.
Amtico offers a wide range of design options, including realistic wood and stone effects as well as abstract patterns. You can mix and match tiles to create custom designs, giving you the freedom to personalize your space.
Absolutely. Amtico flooring is low maintenance. Regular sweeping and occasional mopping with a pH neutral cleaner will keep it looking pristine. There's no need for special treatments or products.
Our team of experts is ready to transform your floors with precision and craftsmanship. Don't settle for ordinary when you can have exceptional. Contact us now by emailing us at info@britishconcretepolishing.co.uk or by filling in the form below and our team will get back to you shortly.