How to Screed a Floor

Contact

Choose the right screed

Before setting out to screed a floor, it is essential to select the appropriate type of screed for your project. Each screed type has its benefits and drawbacks, and various elements of the screeding process, such as preparation, thickness, and drying time, differ depending on the type of screed being applied.

The most common types of screed used in both commercial and domestic projects include unbonded screed, bonded screed, and floating screed. Unbonded screed, as the name suggests, is not directly bonded to the concrete sub-floor but instead sits on a damp-proof membrane. This type of screed protects your floor from moisture in the subfloor but is more prone to curling. Alternatively, bonded screed is directly bonded to the concrete substrate using a bonding agent or primer. It is often used for thinner screed applications where a heavier load or foot traffic is expected. Floating screed, a form of unbonded screed, is typically applied on a layer of insulation, such as underfloor heating systems.

In addition to these traditional sand and cement screeds, other types of screed, such as self-levelling liquid screed, have gained popularity in recent years. However, due to the industrial machinery required to mix and pour this type of screed, it is highly recommended to hire an experienced contractor for the application process. Therefore, this guide refers only to the use of traditional sand and cement screed.
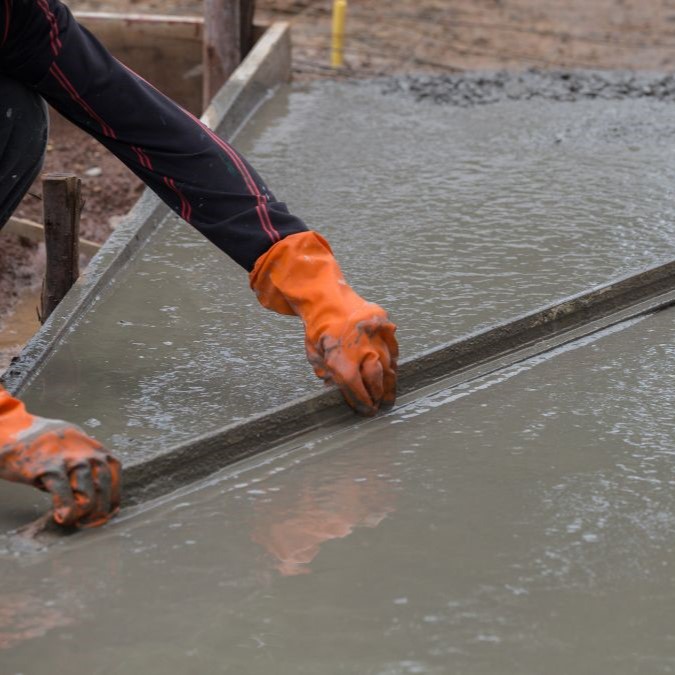
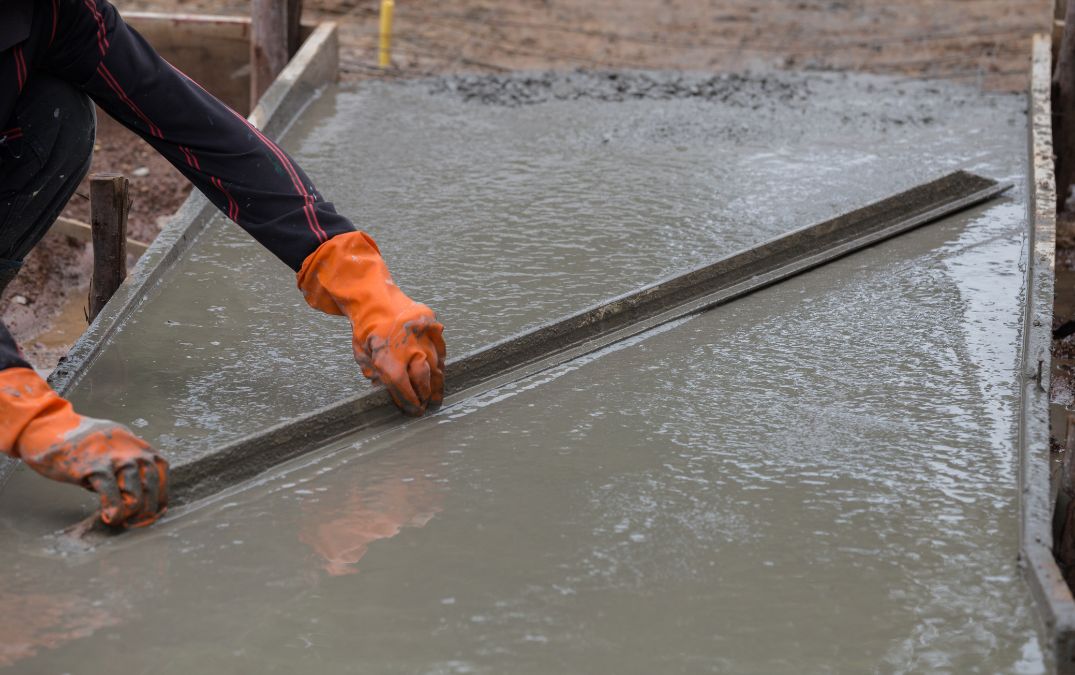
A screed board being used on a screed mixture

Once you have selected the most suitable screed type for your project, it’s time to begin the preparation work on your floor. The preparation process varies depending on whether you are applying unbonded, floating, or bonded screeds.

  • Clean the Concrete Base
    Start by thoroughly cleaning your concrete base. Remove all dust, debris, and grease to ensure a smooth finish with your screed flooring.
  • Apply a Damp-Proof Membrane
    Cover the floor with a damp-proof membrane, such as polythene or PVC sheets. The sheets should overlap by at least 20 cm and be taped together securely. Additionally, fold the sheets up by 10 cm to cover any walls or pillars, providing comprehensive moisture protection.
  • Line the Walls and Pillars
    Line the walls and pillars with a compressible material, such as edging foam. This step is crucial to protect these surfaces from potential damage due to screed shrinkage.
  • Roughen the Surface
    Use a chipping hammer or pick to roughen the entire surface of your concrete subfloor. This process exposes the aggregate, allowing the bonding process to occur effectively.
  • Clean the Base
    Ensure that your base is free from dust, debris, and grease stains. This cleanliness is essential to prevent the screed from bonding to any contaminants instead of the floor.
  • Apply a Bonding Agent
    Apply a suitable bonding agent to the concrete, such as PVA, epoxy resin, or SBR (styrene-butadiene rubber). Follow the instructions on your product label carefully to ensure proper application and bonding.

First, determine the exact measurement of the area you intend to screed. This measurement will guide you in calculating the necessary volume of screed mix. Online screed calculators are handy tools that can help you estimate the amount of screed required based on your area dimensions.

Next, decide on the depth of screed you need to apply. This factor significantly influences the quantity of screed mixture you must prepare. For an unbonded screed, a minimum thickness of 50mm is required throughout. In contrast, a bonded screed generally needs to be at least 35mm thick, but this can range from 25mm to 40mm, depending on the condition of the concrete base.

With these measurements in hand, you can proceed to mix your screed. Ready-mixed screed options are available for convenience, but creating your own mix is also straightforward. A traditional screed ratio of 1:4 cement to sand produces a workable mixture. For a finer screed, sharp sand is preferred, while a coarse aggregate mix results in a more durable screed.

Unbonded screeds are susceptible to weakening due to micro cracks. To mitigate this risk, reinforce the screed mixture with polypropylene fibers before adding water. Alternatively, placing crack control steel mesh over the subfloor, positioned within the top half of your screed, can help strengthen the screed and prevent cracks. By carefully preparing and reinforcing your screed, you can achieve a strong, durable floor that meets your project's needs.

  • Begin by pouring the mixed screed onto the prepared subfloor. Start at one end of the room and work your way towards the exit. This helps prevent stepping on the freshly laid screed. Use a shovel or trowel to distribute the screed mixture evenly across the surface.
  • Once the screed is poured, use a rake or a trowel to spread it evenly. Ensure that the screed covers the entire surface area and reaches the desired depth. For consistent thickness, use screed rails or guide battens as reference points. These can be removed once the screed has been leveled.
  • Using a straight edge or screed board, level the surface of the screed. Place the straight edge on the guide rails and move it back and forth in a sawing motion to remove excess material and fill in any low spots. This process helps achieve a flat, even surface.
  • After leveling, compact the screed to eliminate air pockets and ensure a dense, durable finish. Use a wooden or magnesium float to tamp down the screed gently. This step is crucial for preventing future cracks and ensuring the screed's strength.
  • For a smoother finish, use a steel trowel or a float to smooth out the surface of the screed. Move the trowel in wide, sweeping motions, applying consistent pressure to achieve a uniform, polished look. This step also helps to bring any fine cement particles to the surface, enhancing the screed's finish.
  • Proper curing is essential for the screed to reach its full strength and durability. Cover the screed with a plastic sheet or damp hessian to retain moisture and prevent it from drying out too quickly. Keep the screed covered for at least 7 days, or as recommended by the manufacturer, to ensure proper curing.
  • After the curing period, inspect the screed for any imperfections or uneven areas. Use a fine sandpaper or a mechanical grinder to smooth out any rough spots if necessary. Once satisfied with the finish, the screed is ready for any additional flooring or use as a finished floor.

Our team of experts is ready to transform your floors with precision and craftsmanship. Don't settle for ordinary when you can have exceptional. Contact us now by emailing us at info@britishconcretepolishing.co.uk or by filling in the form below and our team will get back to you shortly.