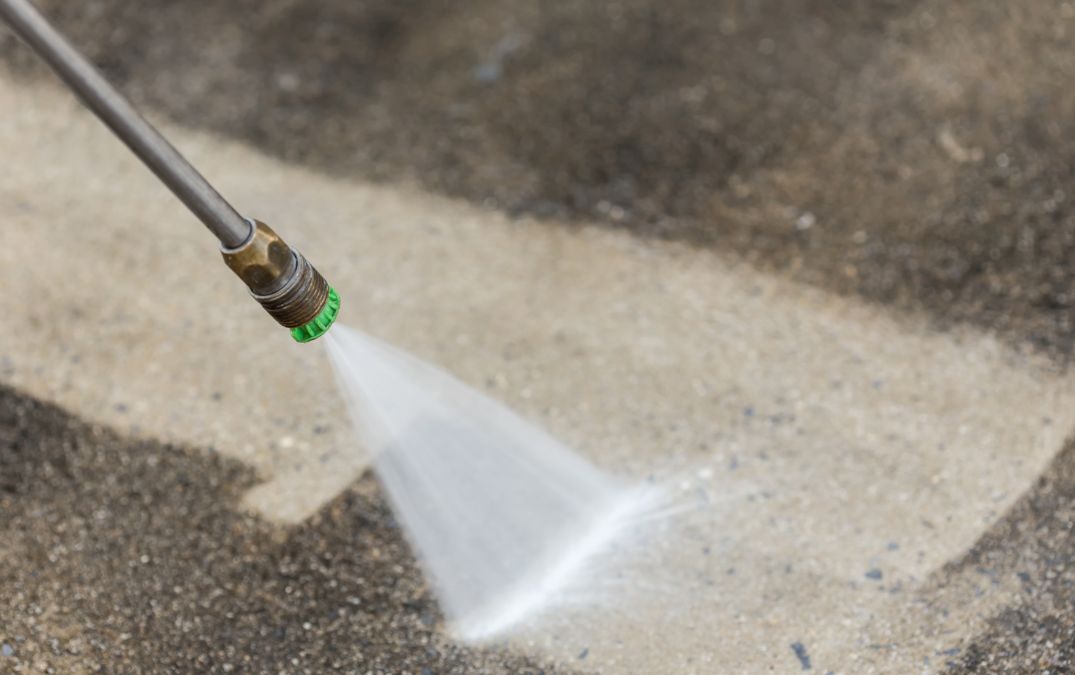
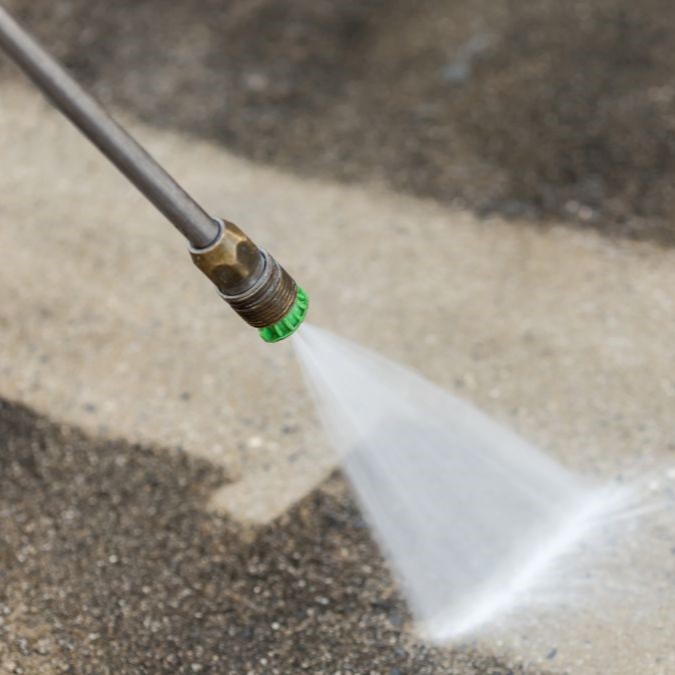
First things first, you’ve got to clean that floor thoroughly. Sweep away any loose debris and dirt. For tougher grime, use a degreaser or a concrete cleaner. A power washer can be a great tool if you’ve got one handy. The goal is to get the surface as clean as possible because any dirt left behind can prevent the sealer from sticking properly.
Next up, check for any cracks or damage. You don’t want to seal over imperfections because they’ll just get worse over time. Use a concrete patching compound to fill in any cracks or holes. Smooth it out and let it dry completely. A well-prepped surface makes all the difference in the final result.
Finally, make sure the floor is completely dry before you apply the sealer. Moisture trapped under the sealer can cause it to peel or bubble. If you’ve used water to clean the floor, give it plenty of time to dry out. You might even use a moisture meter to be sure.
Now there are certain considerations you'll need to take in order to decide which sealer suits the job at hand, including but not limited to:
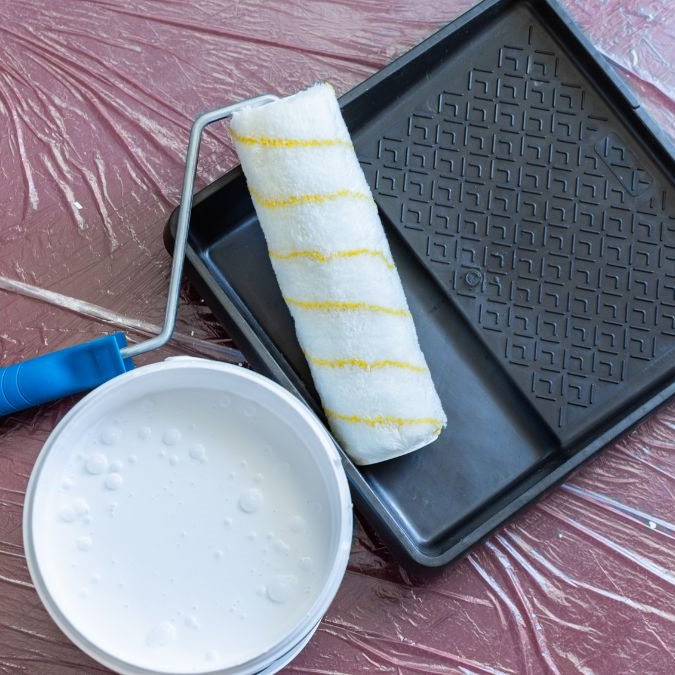
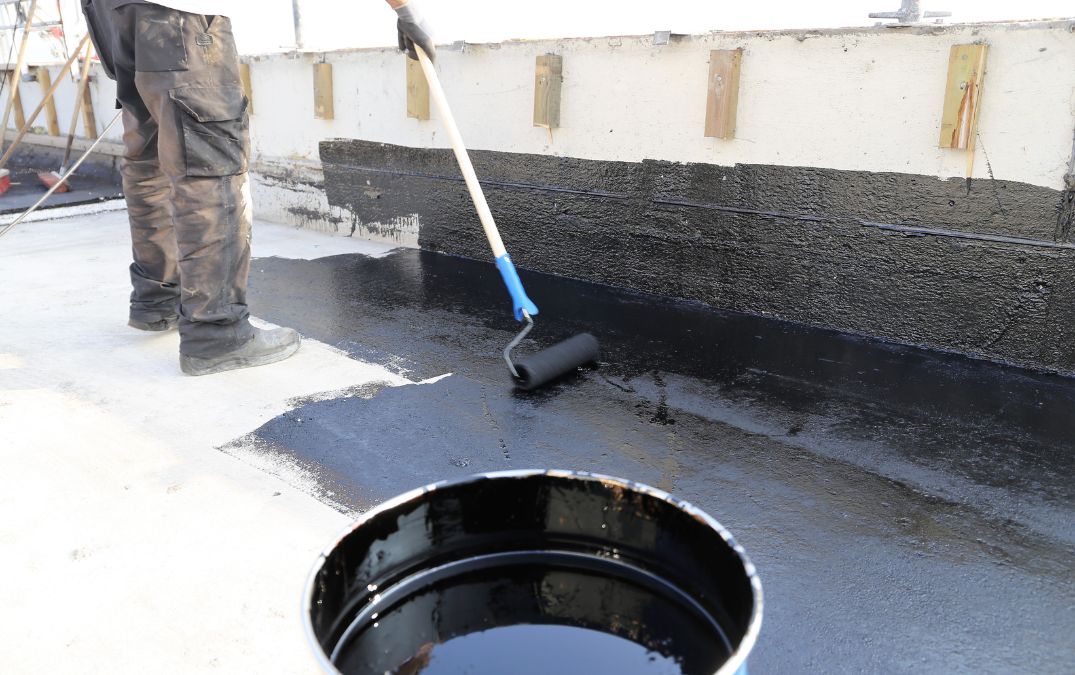
Always read the sealer manufacturer’s instructions for specific guidelines, as this will ensure you get the best results. If you’re using a roller, pour the sealer into a paint tray and load your roller or sprayer with the sealer.
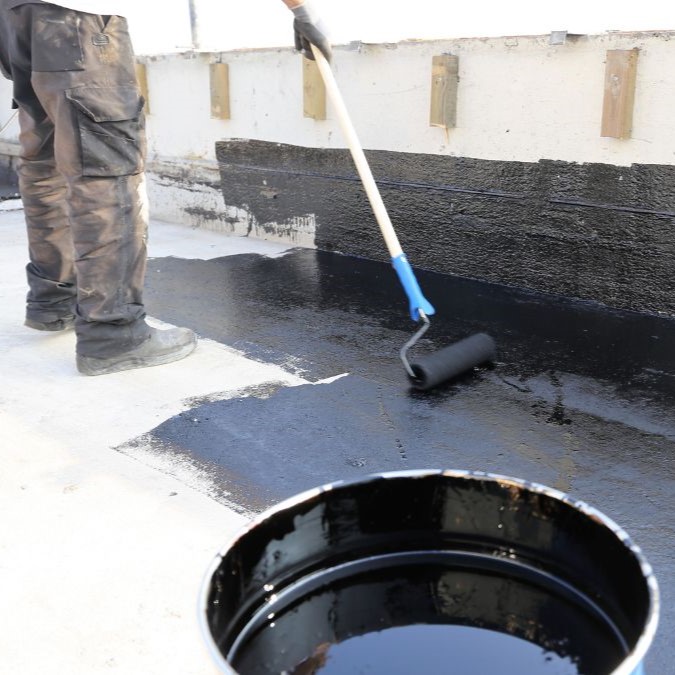
Start applying the sealer in a corner and work your way out, ensuring you apply it in thin, even coats without leaving any puddles or uneven spots. Let the first coat dry completely, which usually takes a few hours, depending on the sealer's instructions.
For maximum protection, you've got to apply multiple coats. Once the first coat is dry, apply a second coat in the same manner, which helps create a more durable and even finish. Allow each coat to dry thoroughly before applying the next, typically a few hours to overnight. After the final coat, let the floor cure for the recommended time to ensure the sealer is fully set and provides the best protection.
One of the biggest mistakes is over applying the sealer. More isn’t always better. Applying too much can cause puddles and uneven spots, leading to a sticky, unattractive finish that doesn’t cure properly. Thin, even coats are the key to a smooth, durable surface.
Skipping or skimping on surface preparation is a sure way to ruin your sealing job. If the concrete isn’t clean and dry, the sealer won’t adhere properly. Dirt, grease, and moisture can all interfere with the bonding process, leading to peeling and bubbling down the line. Make sure you thoroughly clean and repair the surface before you start.
Ignoring the manufacturer’s instructions can lead to all sorts of problems. Each sealer has specific guidelines for application, drying times, and the number of coats. Following these instructions ensures that you get the best results and that your floor is properly protected. Don’t try to wing it – read and follow the directions to the letter.
If the sealer isn’t adhering, it’s often due to inadequate cleaning or moisture. Remove the faulty sealer, clean the surface thoroughly, ensure it’s dry, and reapply following the manufacturer’s instructions.
Typically, two to three thin coats are recommended, allowing each coat to dry completely before applying the next. Follow the manufacturer’s guidelines for the best results.
Apply the sealer in thin, even coats using a roller or sprayer. Work systematically from one corner to the other and avoid going over the same spot multiple times while it’s wet.
Our team of experts is ready to transform your floors with precision and craftsmanship. Don't settle for ordinary when you can have exceptional. Contact us regarding concrete flooring by emailing us at info@britishconcretepolishing.co.uk or by filling in the form below and our team will get back to you shortly.