Moisture Barrier for Concrete Flooring

Contact

Picture this: you've got a brand-new concrete floor, sleek and sturdy. But lurking beneath is moisture, an invisible enemy that can wreak havoc if left unchecked. Enter the moisture barrier, your floor's first line of defense.

Concrete is surprisingly porous. It can absorb water from the ground beneath or from spills above, leading to a slew of problems. Think cracks, mold, and a generally weakened structure. Not a pretty picture, right? Moisture barriers step in to prevent all that drama. These barriers, often made of heavy duty plastic or specialised coatings, act as a shield. They keep groundwater and other moisture from seeping into the concrete. This isn't just about preventing visible damage like cracks or stains. It’s about maintaining the integrity of the floor itself. Moisture trapped in concrete can cause the material to expand and contract, which over time, leads to structural issues. You don’t want your beautiful floor turning into a cracked mess, do you? Moist environments are breeding grounds for mold and mildew, which not only damage the concrete but also pose health risks. A good moisture barrier keeps these pesky invaders at bay, ensuring that the environment remains healthy and safe for everyone.

Liquid moisture barrier for concrete floors

How’s this different from the old school sheet or underlay moisture barriers? With traditional moisture barriers you're trying to wrap your floor in a giant, waterproof blanket. That’s your sheet barrier. It works, but it’s a hassle. You’ve got to lay it out perfectly, seal all the seams, and hope there are no gaps or tears. One little rip, and you’re back to square one, with water seeping through.

On the flip side, with the liquid barrier, you roll it on, let it soak in, and it hardens into an unbroken layer of defense. It’s perfect for any shape or size, fitting snugly into every corner and cranny. Whether your concrete is freshly laid or has been around for years, the liquid barrier adapts, providing a uniform coat of protection.

So, when you’re weighing your options, remember this: liquid barriers are straightforward and easy to apply. They dive deep into the concrete, offering lasting defense against moisture, while sheet barriers need meticulous installation and constant vigilance against potential breaches. With liquid, you get seamless, hassle free protection that just works.
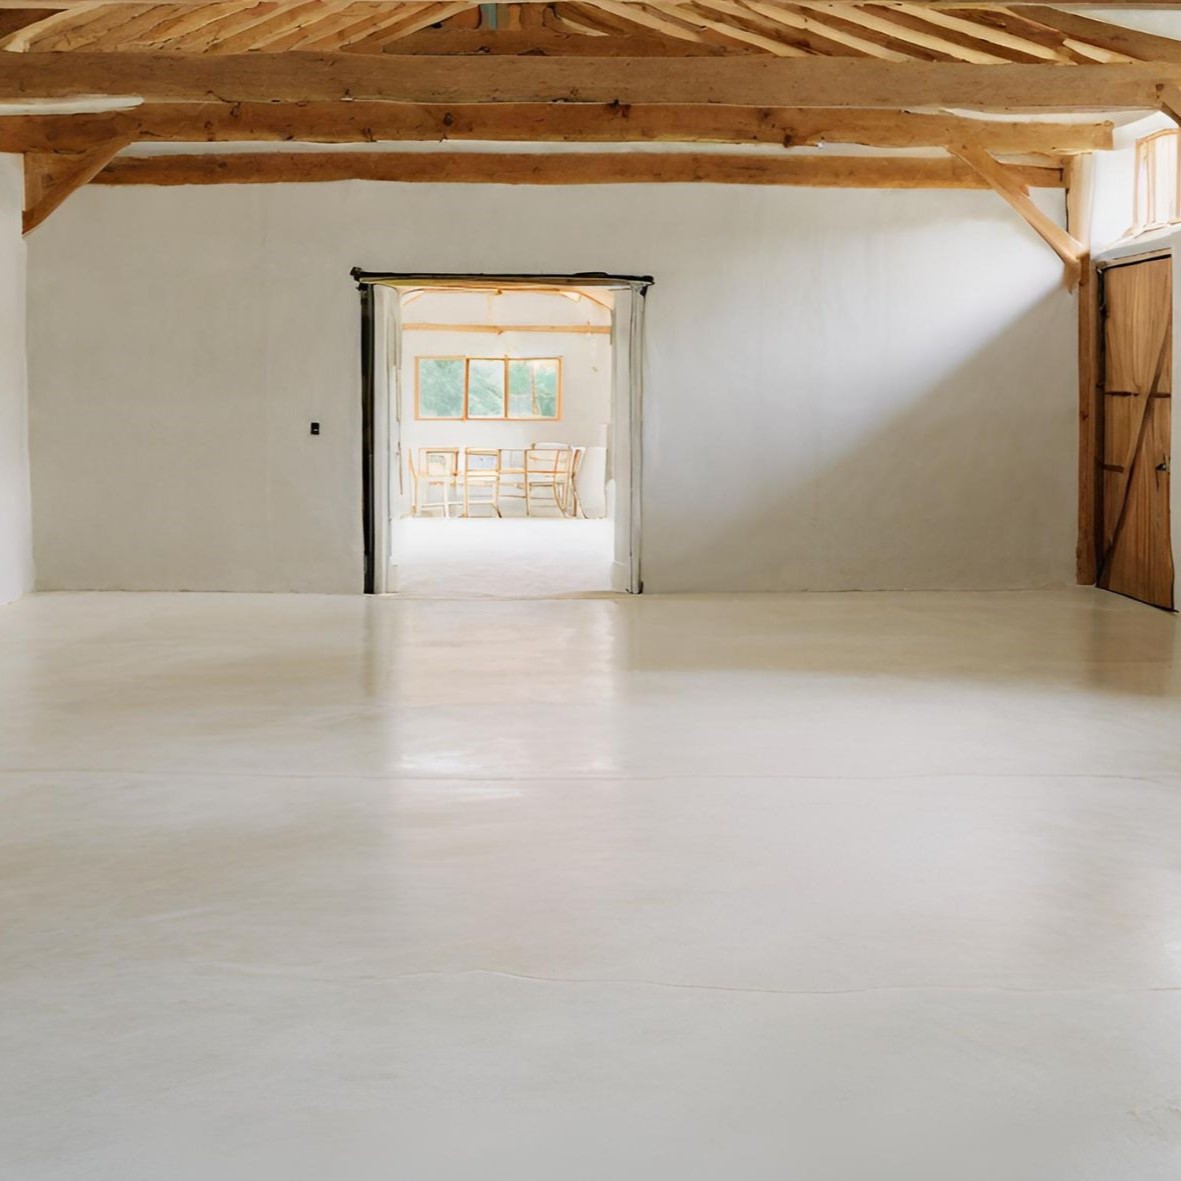
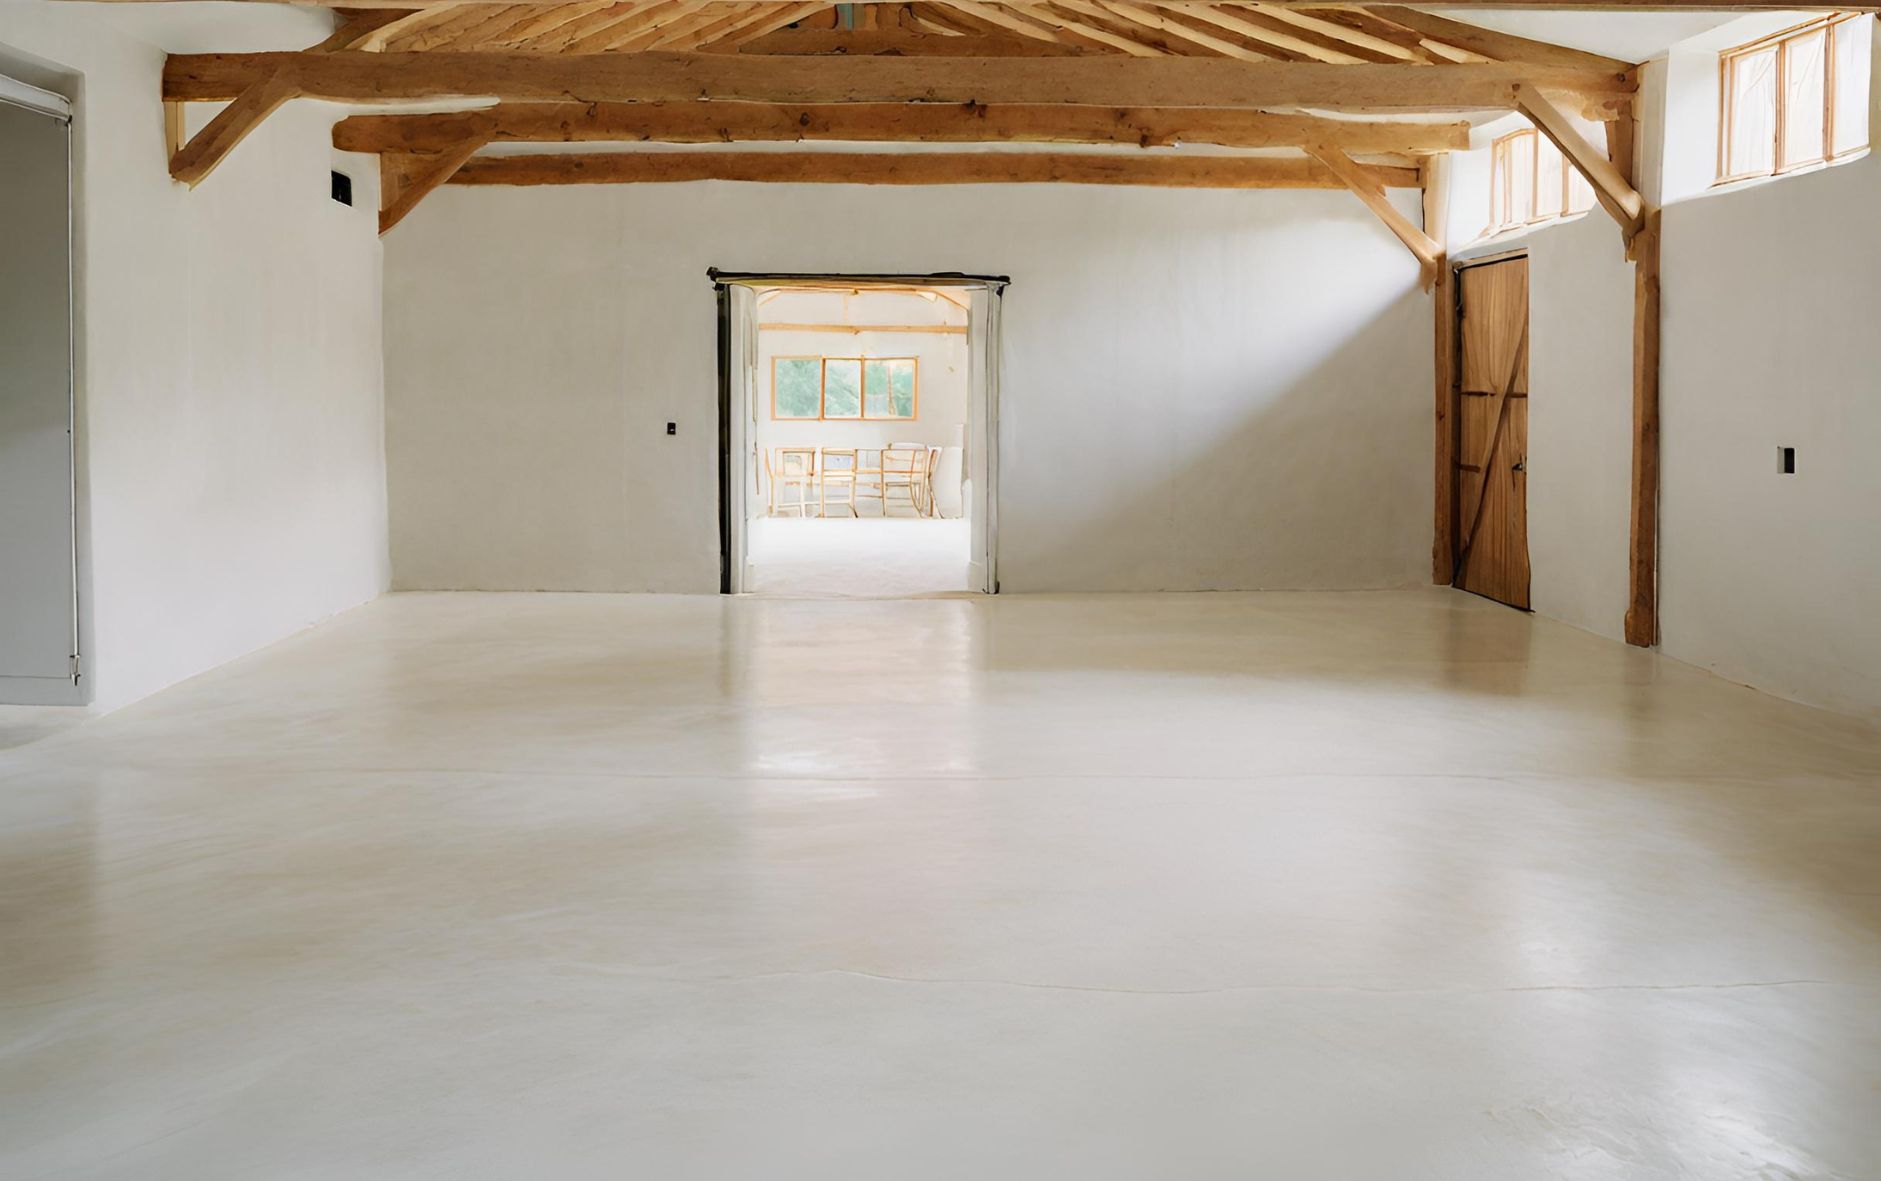
Concrete flooring which has had a liquid moisture barrier applied.

First things first, prep is key. You need a clean, dry surface for the barrier to adhere properly. Sweep away any debris, and if there’s any oil or grease, clean it off thoroughly. You might need to use a degreaser for tough spots. Once it’s clean, let the floor dry completely. Any moisture left can mess up the adhesion of your barrier.

Now, choosing your barrier. You’ve got two main types to consider: liquid and sheet barriers. Liquid barriers, like epoxy or polyurethane, are your go to for ease and effectiveness. They’re applied like paint, seeping into the concrete and forming a seamless layer. Sheet barriers, on the other hand, are laid out and adhered to the concrete. They work, but can be trickier with seams and potential gaps.

If you’re going with a liquid barrier, get your roller or brush ready. Pour the liquid barrier into a tray and start rolling it onto the floor, just like you’d paint a wall. Make sure you cover every inch, working it into any cracks or crevices. This is your first line of defense, so don’t skimp. Depending on the product, you might need a second coat. Check the manufacturer’s instructions and give the first coat enough time to dry before applying the next.

For sheet barriers, measure your floor and cut the sheets to size. Lay them out on the floor, making sure they overlap at the seams. Use a heavy duty adhesive to glue the sheets down, pressing firmly to ensure there are no air bubbles or gaps. Pay extra attention to the seams and use sealing tape to make sure they’re completely watertight.

Once your barrier is down, whether liquid or sheet, let it cure. This can take anywhere from a few hours to a few days, depending on the product. To wrap it up, a good moisture barrier is all about preparation and careful application. Clean your floor, choose the right barrier, apply it thoroughly, and give it time to cure. Do it right, and you’ll have a concrete floor that stands the test of time.

Our team of experts is ready to transform your floors with precision and craftsmanship. Don't settle for ordinary when you can have exceptional. Contact us now by emailing us at info@britishconcretepolishing.co.uk or by filling in the form below and our team will get back to you shortly.